Whiteboards
Whiteboards combine a shared canvas with a side-by-side document. Use the multiplayer canvas to diagram, sketch, and map ideas while keeping agendas, goals, and reference notes organized in the document.
Creating whiteboards
-
Sign in to app.axure.cloud or the Axure Cloud desktop app.
-
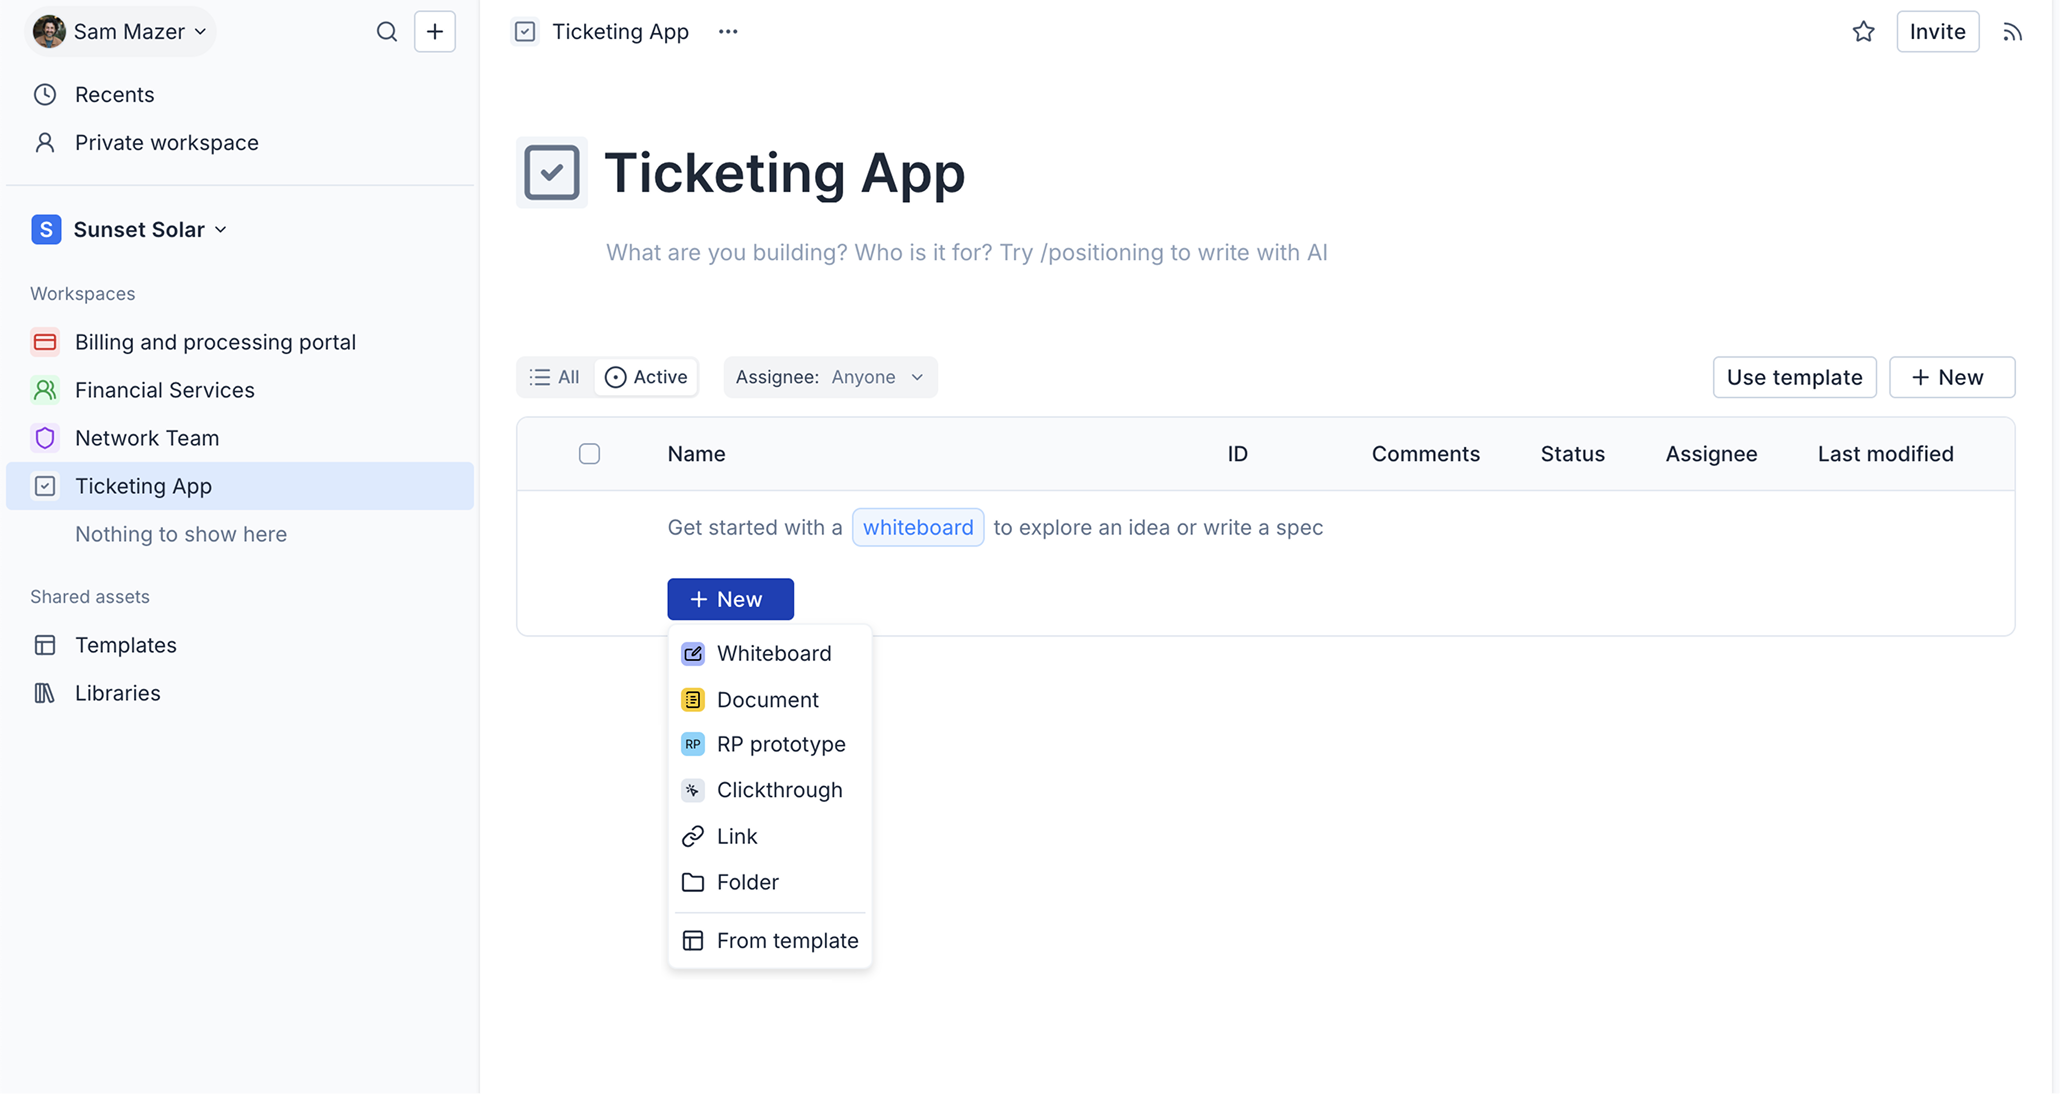
Select the workspace you want to add the new item to.
-
Click New and choose Whiteboard from the dropdown menu.
Once you open your new whiteboard, click the Welcome to whiteboards button for a quick tutorial to get started.
Starting from a template
Instead of starting with a blank canvas and document, you can pick a template when creating a new whiteboard. Click Browse templates in the new file dialog to see your organization's available templates.
See Templates for more, including how to save and publish your own.
The environment

A whiteboard has two main areas that work side by side:
- Canvas: A free-form, infinite space for visual content. Use it to create diagrams, sketch UI ideas, map user flows, and organize sticky notes. Multiple team members can edit the canvas at the same time.
- Document: A structured text editor for written content alongside your visual work. Use it to draft product requirements, capture meeting notes, define goals, or build a reference knowledge base.
Multiplayer
When other team members are in the whiteboard, their avatars appear in the top-right corner. Click an avatar to follow that person; your view will pan and zoom to match theirs as they navigate. Click again to stop following.
Document layout
You can control how much screen space the document takes up. Use the layout toggle buttons at the top of the document panel to switch between views:
- Hidden: The document is minimized so the canvas fills the screen
- Split view: Canvas and document share the screen side by side (default)
- Full screen: The document fills the screen and the canvas is hidden
To set the default layout for a whiteboard, open the file menu and choose a Starting document view.
Working on the canvas
Use the toolbar to add content to the canvas:
- Shapes and text: Rectangles, ellipses, text labels, and other basic shapes for building diagrams and annotations
- Sticky notes: Color-coded notes for brainstorming and annotating ideas
- Connectors: Lines and arrows to link objects and illustrate flows and relationships
- Images: Upload images directly onto the canvas
- Smart links: Embed a live, interactive website directly onto the canvas as a resizable object. Click and drag to place it, then enter a URL to load the content.
- Sections: Named areas for grouping related content. Sections can also be embedded into the document as live screenshots. See Sections for details.
- Comments: Click the Comment tool (or press C) to enter comment mode and place a feedback pin anywhere on the canvas. All comments appear in the Comments pane on the right, where you can reply, resolve, and filter threads. Members can opt in to notifications for new and resolved comments.
Use the Outline pane to navigate, select, rename, reorder, and show or hide canvas objects without having to locate them on the canvas directly.
Working in the document
Every whiteboard includes a document, a live collaborative editor that sits alongside the canvas. Use it to draft requirements, capture notes, or keep reference content organized alongside your visual work.
The document supports headings, lists, tables, callouts, code blocks, embeds, and more. See Documents for full details, including how to use slash commands and embed links and media.
You can also create standalone documents (without a canvas) from the New menu in any workspace.
See Sharing whiteboards for details on share links and access permissions.