Axure Cloud for Business user guide
The publishing workflows for Axure Cloud for Business private instances and on-premises servers are largely the same as those for public Axure Cloud. You can learn about publishing in the Axure Cloud Basics section of the documentation.
To publish and manage your projects in your web browser, all you need is the URL and the sign-in credentials provided by your IT department or team lead.
To access your Axure Cloud for Business private instance or on-premises server in Axure RP or the Axure Cloud desktop app, follow the steps below.
Add your Axure Cloud for Business server to Axure RP
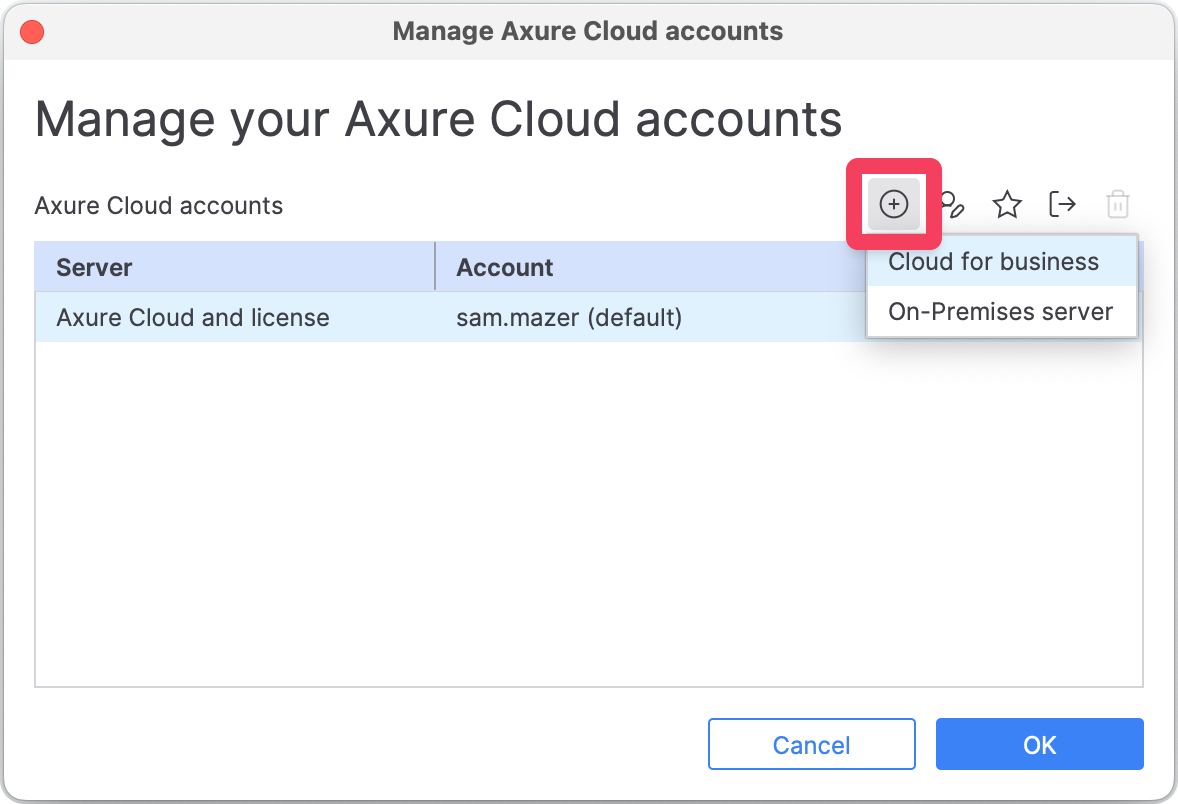
- Go to Account → Manage Accounts in the top menu.
-
Click the
+button and select the Axure Cloud for Business solution your team uses:- Cloud for Business for private instances hosted on Axure servers
- On-Premises Server if your team is running Axure Cloud on your own servers
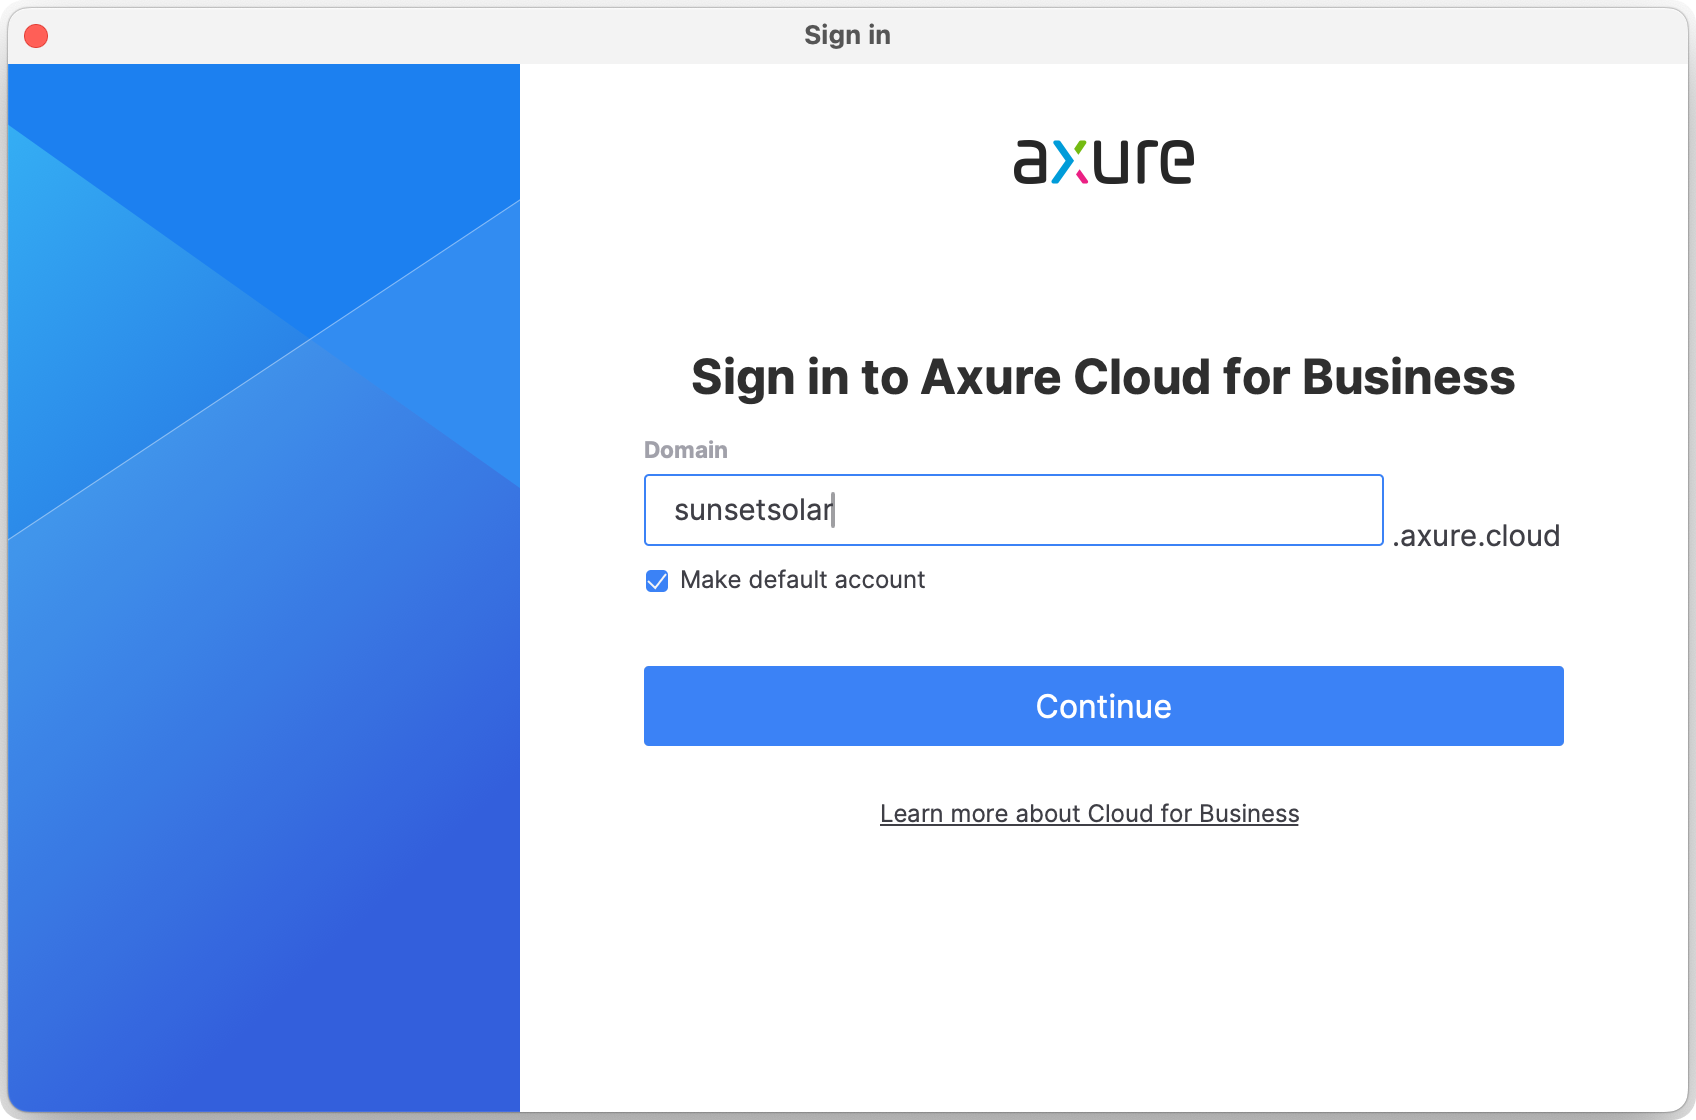
- Enter the server domain name or IP address your team lead or IT department gave you. Then click Continue.
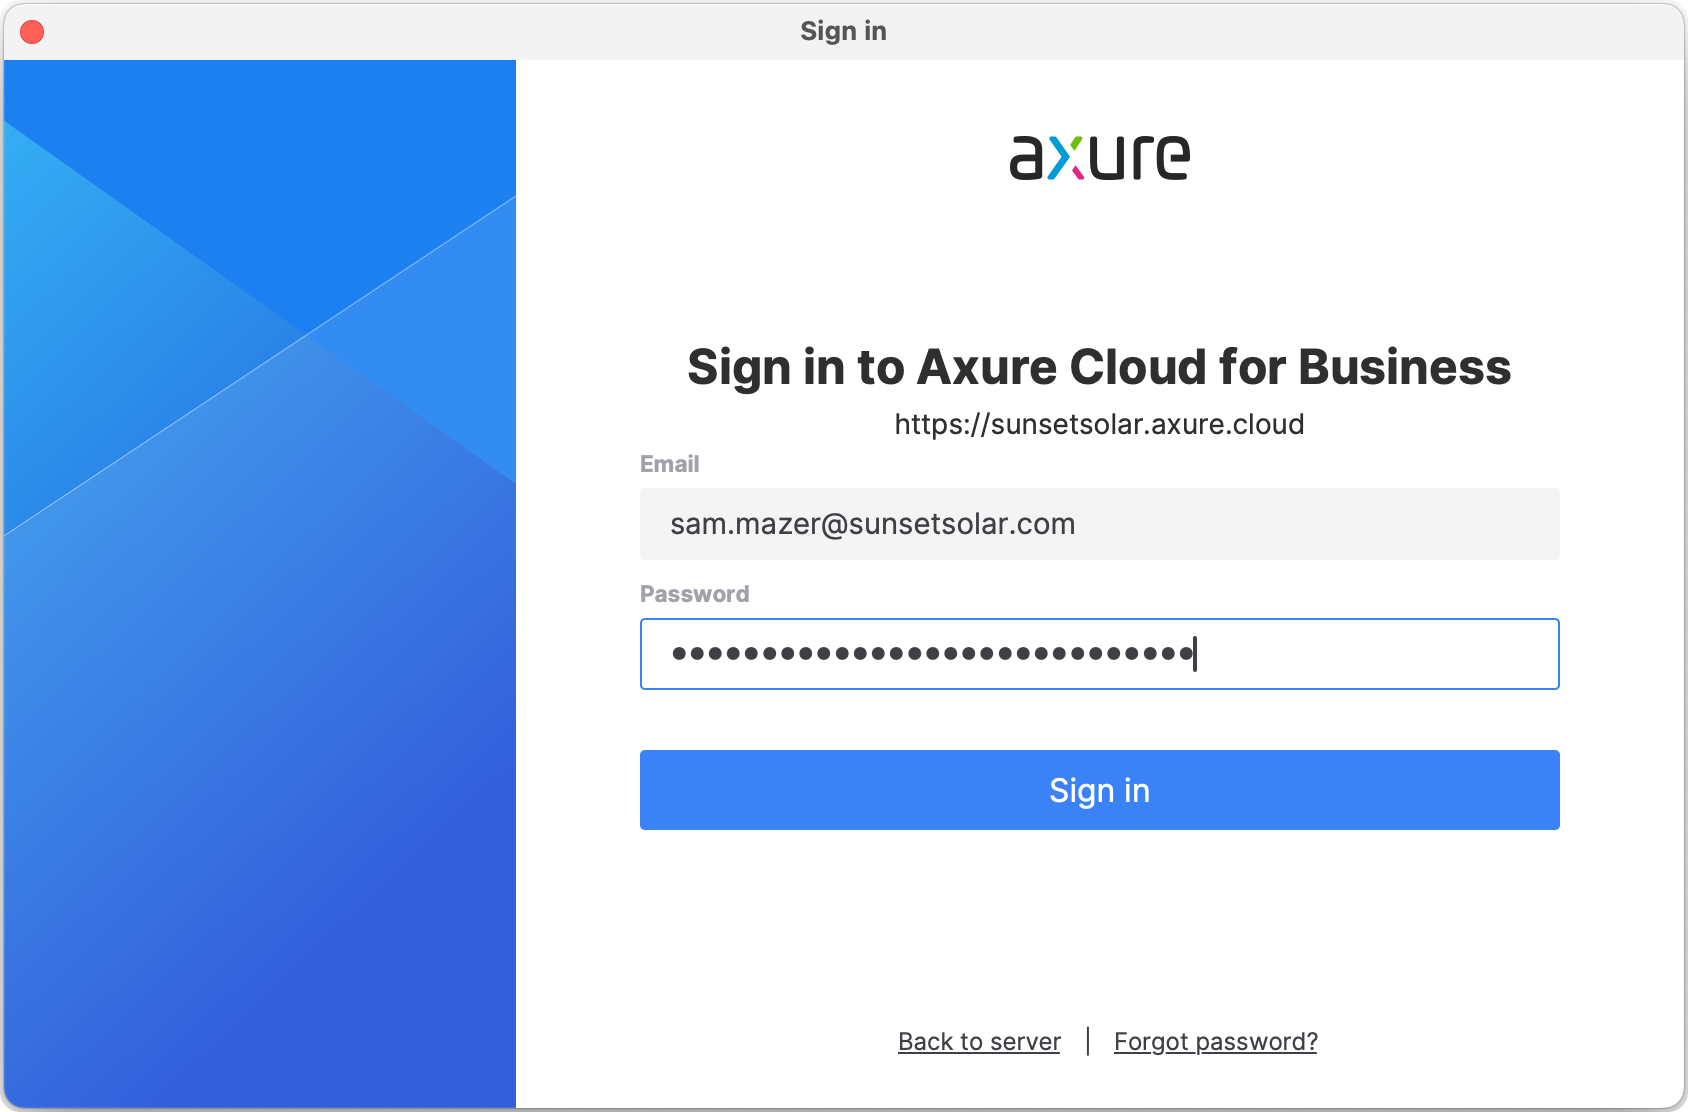
- Sign in with the credentials your team lead or IT department set up for you. Then click Sign in.
Select your server in the publish project dialog
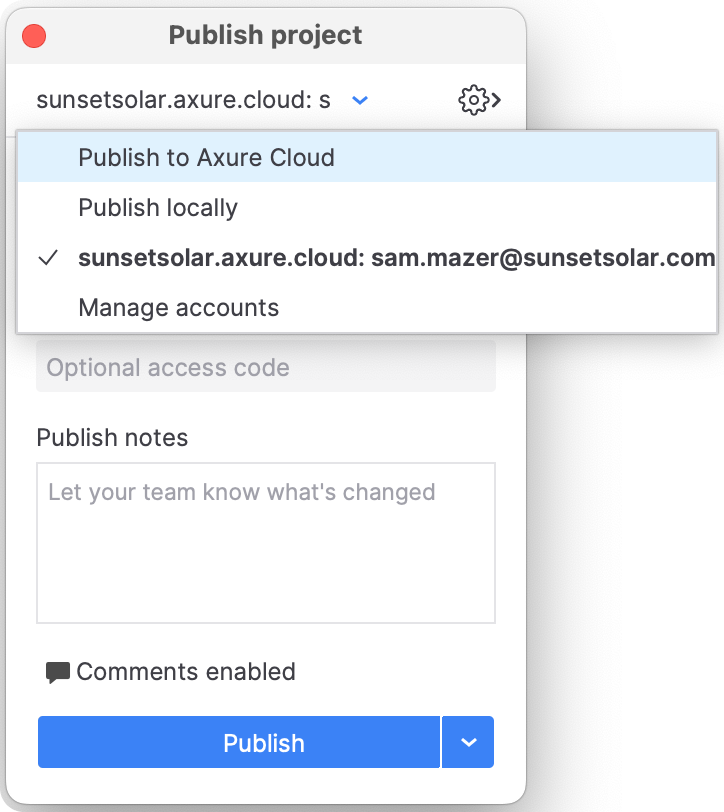
You can publish to any server location you've saved in Axure RP. To switch between locations, go to Publish → Publish to Axure Cloud and click the dropdown at the top of the Publish Project dialog.
To change the dropdown's default selection, use the ⭐ button in the Account → Manage Accounts dialog.
Add your Axure Cloud for Business Server to the Axure Cloud desktop app
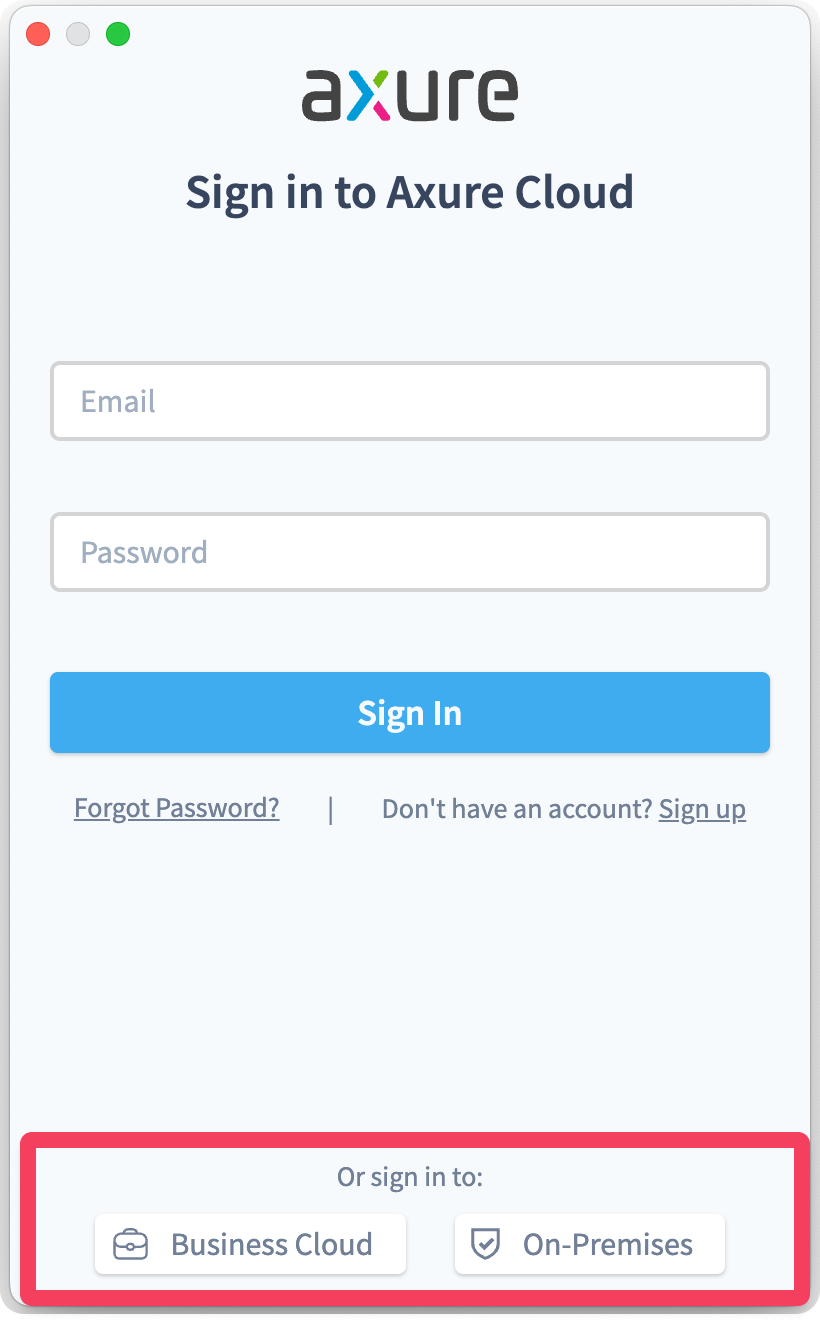
-
At the bottom of the screen, click one of the following depending on which solution your team uses:
- Business Cloud for private instances hosted on Axure servers
- On-Premises if your team is running Axure Cloud on your own servers
To sign out of your current server, click your profile dropdown at the top of the interface and select Sign Out.
-
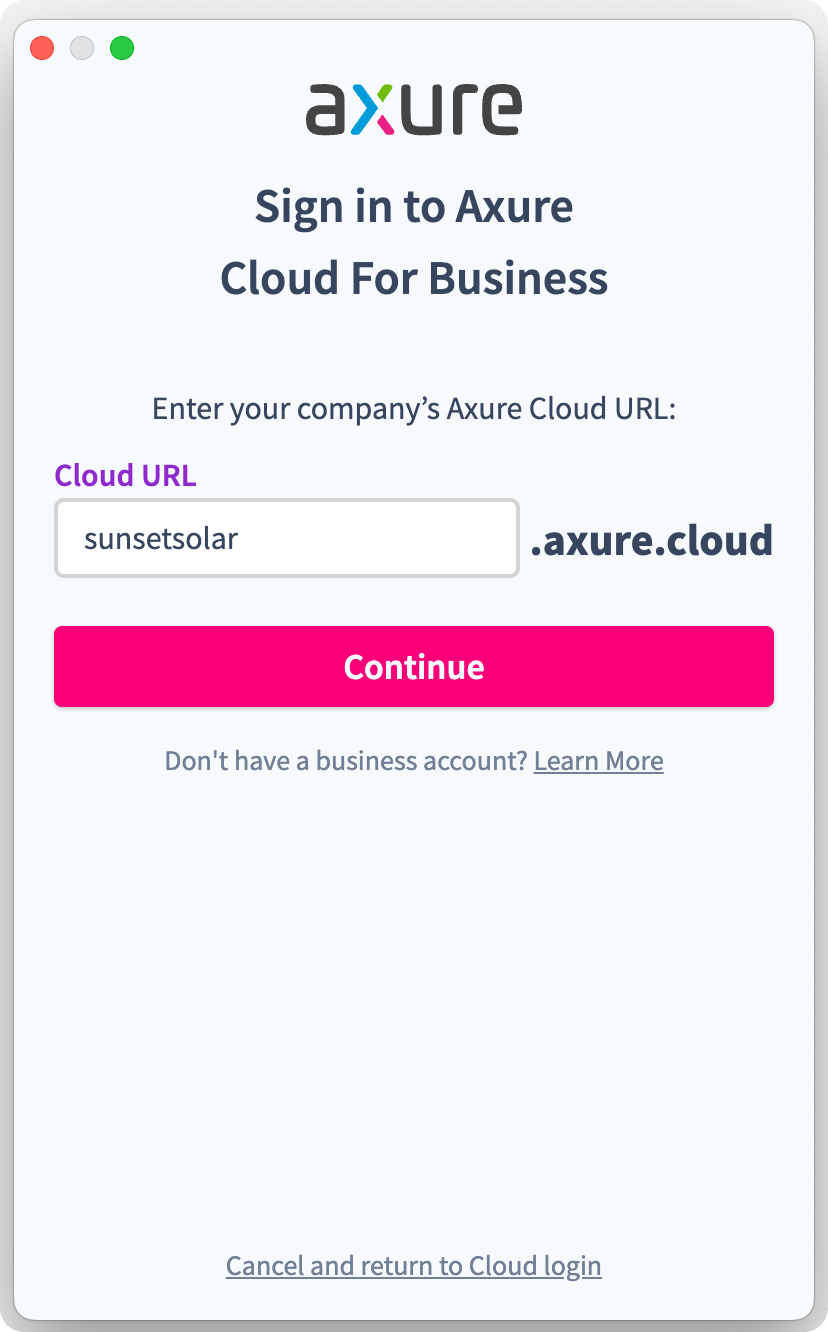
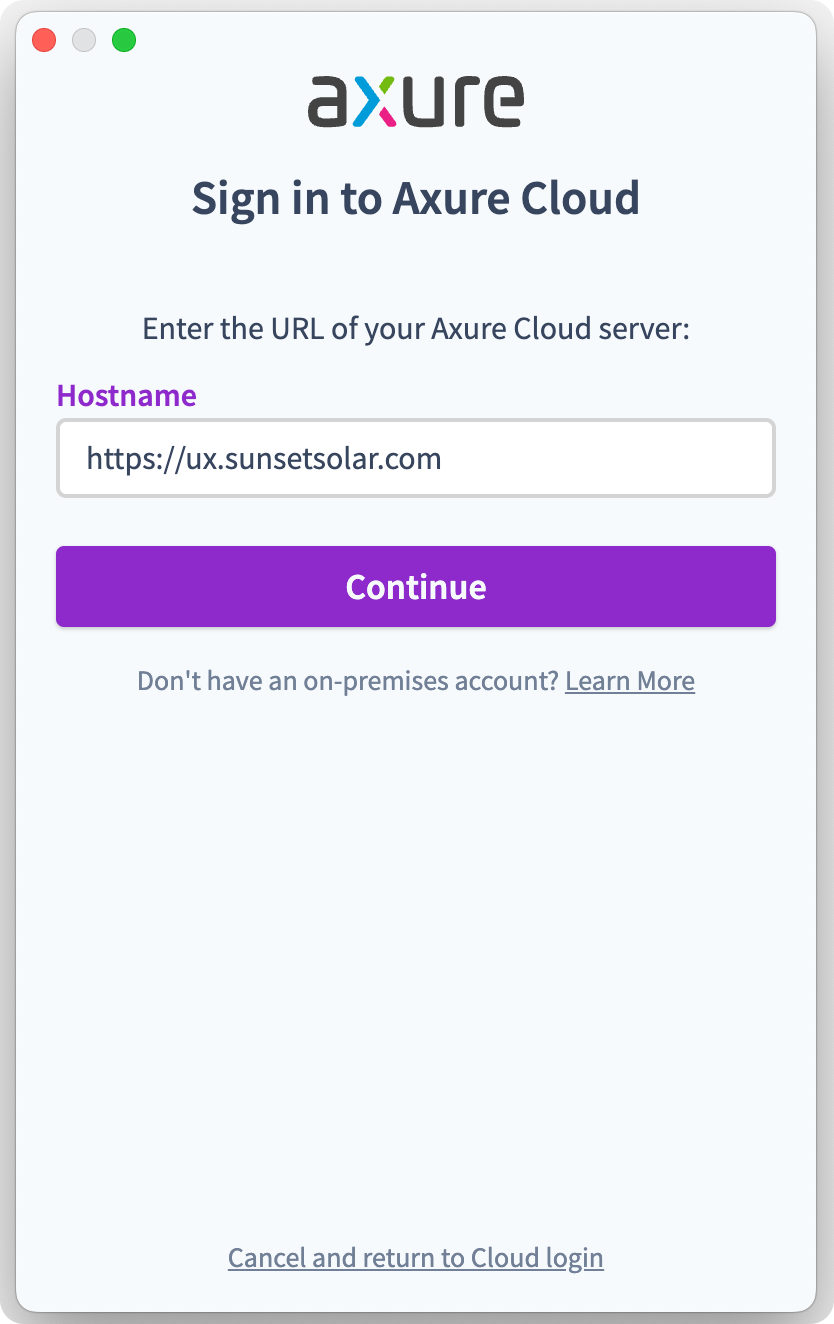
Enter the server domain name or IP address your team lead or IT department gave you and click Continue.
-
Sign in with the credentials your team lead or IT department set up for you.