Sharing Axure RP projects from Axure Cloud
To quickly learn the basics of sharing your Axure RP prototypes, check out the sharing your prototypes module of our core training series.
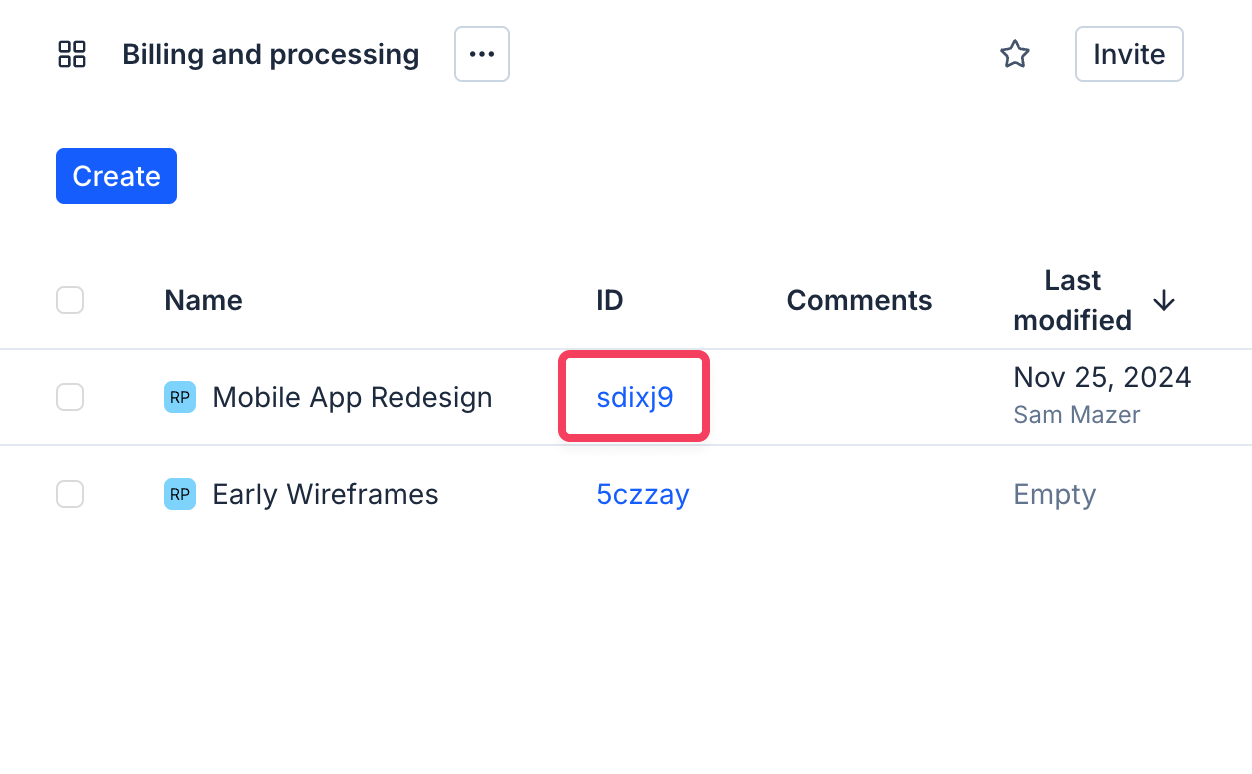
When you publish an Axure RP file to Axure Cloud, you're given a publicly shareable link to the file's generated HTML. You can view this link at any time in the Publish → Publish to Axure Cloud menu in Axure RP and in your list of projects at app.axure.cloud.
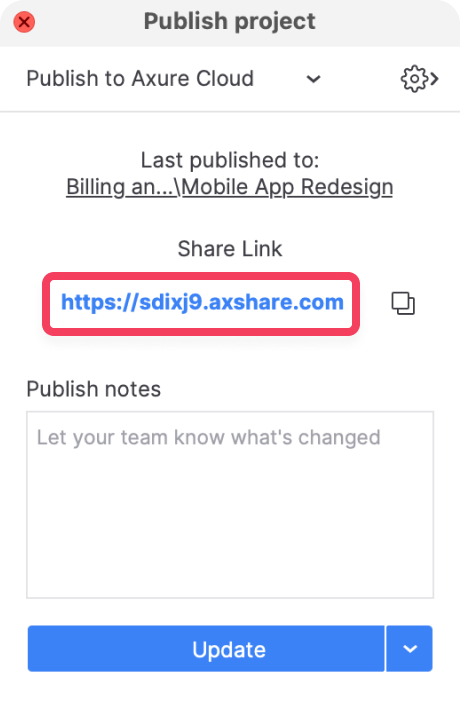
You can send this link to anyone to allow them to view the project's HTML.
The share link allows people to view and comment on the project's HTML but not to edit or download the project's source RP file. To grant teammates those privileges, add them to the project's workspace.
Project access code
When publishing an Axure RP file to Axure Cloud, you have the option to set an access code for the project, which protects the project's share link.
You can also add or edit a project access code in Axure Cloud by navigating to the project Overview page. In the Details pane on the right, click the Edit button ✏️ button next to the Access code label, enter an access code, and click Save.

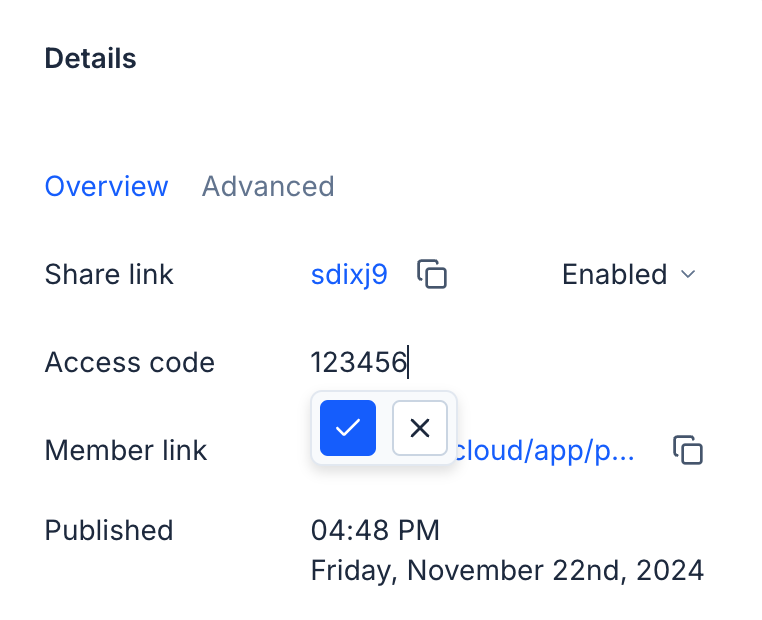
Once you set an access code, you can copy the share link with a hashed version of the access code embedded in the link.
Anyone you share the embedded link with will be able to bypass the access code page and view the prototype without manually entering the access code.

Pretty URLs

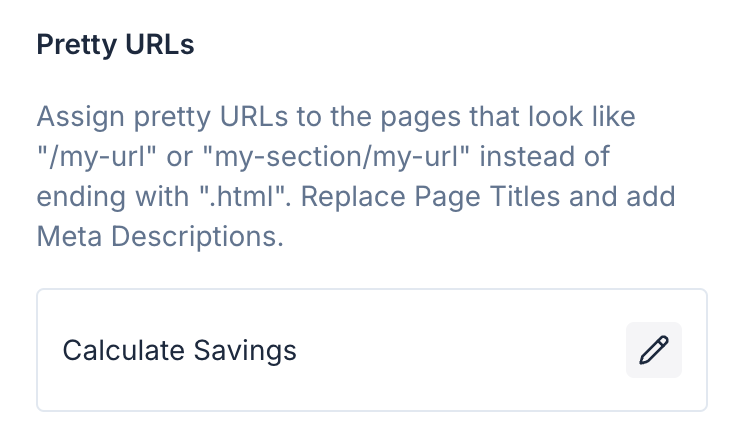
Pretty URLs allow you to customize and simplify the URL for specific pages, so that a URL leading to a specific project page will end with "/my-url" or "my-section/my-url" instead of ending with “.html”. Once you open a project’s overview page in Axure Cloud, you can select the Advanced tab to find options for adding in plugins, pretty URLs, and redirects.
To assign a pretty URL to a page, scroll down to the list of the project pages, and then select the Edit button ✏️ in the row of the specific page that you would like to assign a pretty URL to.
Then in the popup that appears, you can assign the pretty URL, as well as add a custom page title and a meta description.
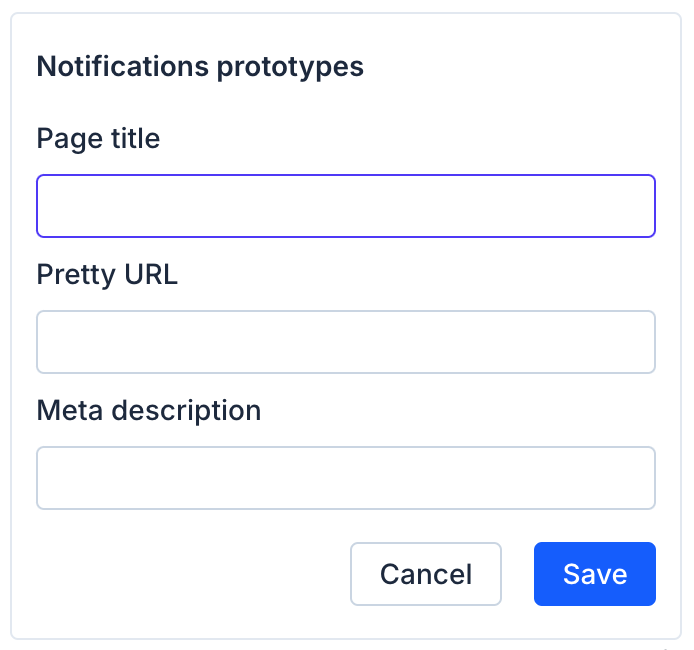
Page title: Type in your custom page title. For SEO purposes, we suggest using keywords at the beginning of the page title and your business name at the end.
Pretty URL: Type in the URL, include the folder structure as appropriate.
Meta description: Type in the meta description. Keep in mind this is the text description that shows in search results. This should be a summary of what the page is about. Make sure to include relevant keywords.
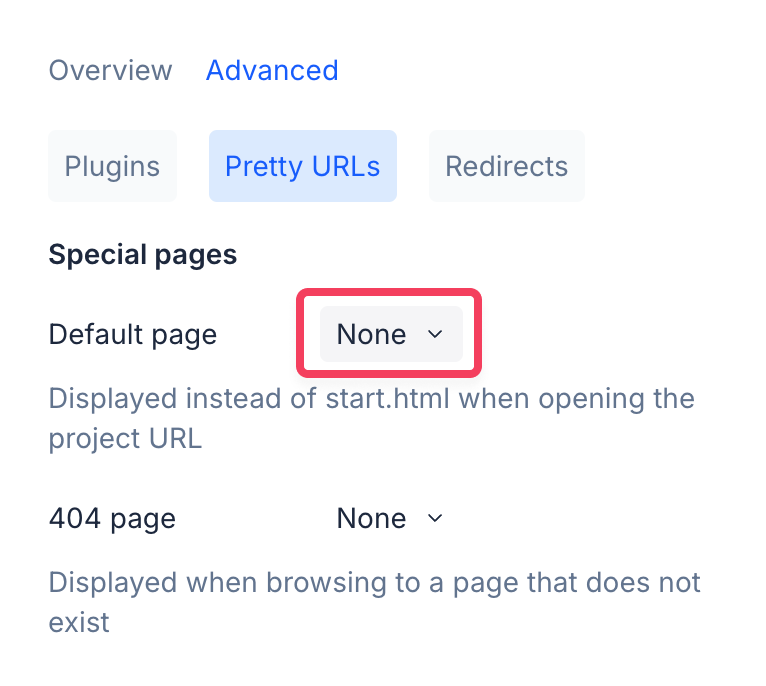
Default page
You can also select a default page that is displayed instead of start.html. You can do this by opening the project URL by clicking the default page selector. Then in the dialog that appears, make a selection from the dropdown list of page names from your project, and click the Change default page button.
If you later wish to remove the default page, click the Delete button 🗑️. To get the sitemap to show, add /start.html#p= or /index.html#p= to the end of the URL.
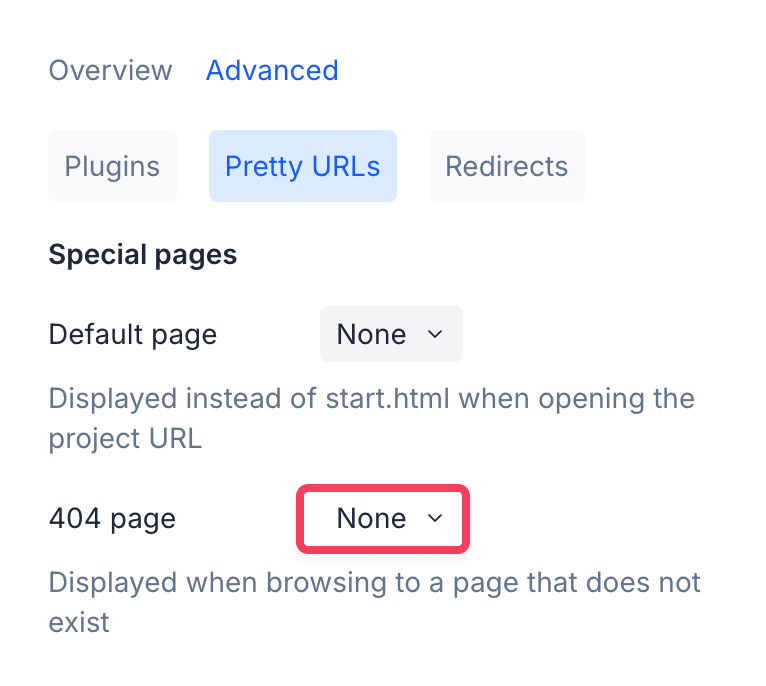
Custom 404 page
The custom 404 page will display if a user reaches a URL which is not in your sitemap. Assign a custom 404 page by clicking the 404 page selector, selecting the page from the dropdown list, and clicking the Change 404 page button. If you later wish to remove the custom 404 page, click the Delete button 🗑️.
Redirects
Redirects are also found in the Advanced tab, and can be used to point old page URLs to new ones. For example, to make "home" go to "new-home", create a redirect with an incoming URL of "home" and redirect to "new-home". If you're not using pretty URLs, you can make "home.html" go to "new-home.html" similarly.
You can also make an entire path redirect to one page. For example, to make any page within the "my-section/" path redirect to the "my-new-section" page, create a redirect with an Incoming URL of "my-section/*" and Redirect To "my-new-section".

Disabling the share link
To disable a project's share link, go to the project's Overview screen at app.axure.cloud. In the right-side panel, locate the Share link. Click the Enabled dropdown next to the link, and select Disabled.
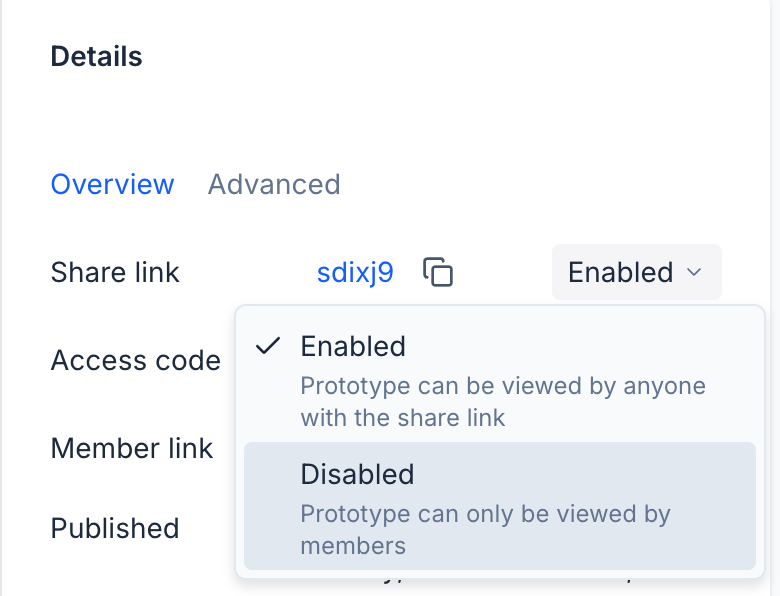
When a project's share link is disabled, the project can only be viewed by members of the workspace.
Team project viewing and generation options
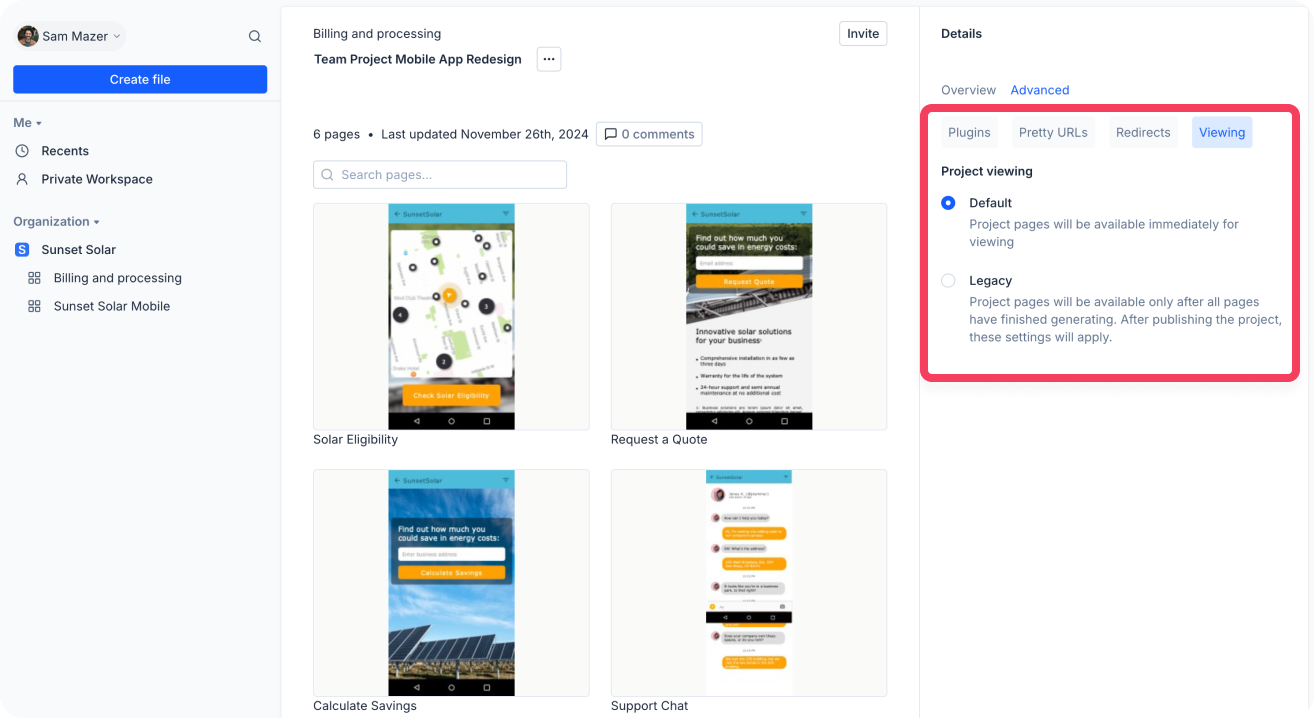
Default viewing
With the Default setting on, project pages will begin generating as soon as the project is viewed from the share link. Once an individual page has finished generating, users will be able to view it, even if other pages in the project are still generating.
Legacy viewing
With the Legacy setting on, all project pages will be generated when published, but the share link will only be viewable after all pages have been generated.
If you switch a project from the default setting to the legacy setting, you will need to republish the project (such as checking in a new change) before the project share link will be viewable again.