Adding custom code to Axure RP prototypes
You can use Axure Cloud plugins to add custom HTML, CSS, and JavaScript to your Axure Cloud–hosted RP projects. Use plugins to add things like analytics, social media buttons, or your own hand-written code to your projects.
Adding plugins to a project
-
If you haven't already done so, publish your Axure RP project to Axure Cloud.
-
Navigate to app.axure.cloud in your web browser or open the Axure Cloud desktop app and sign in.
-
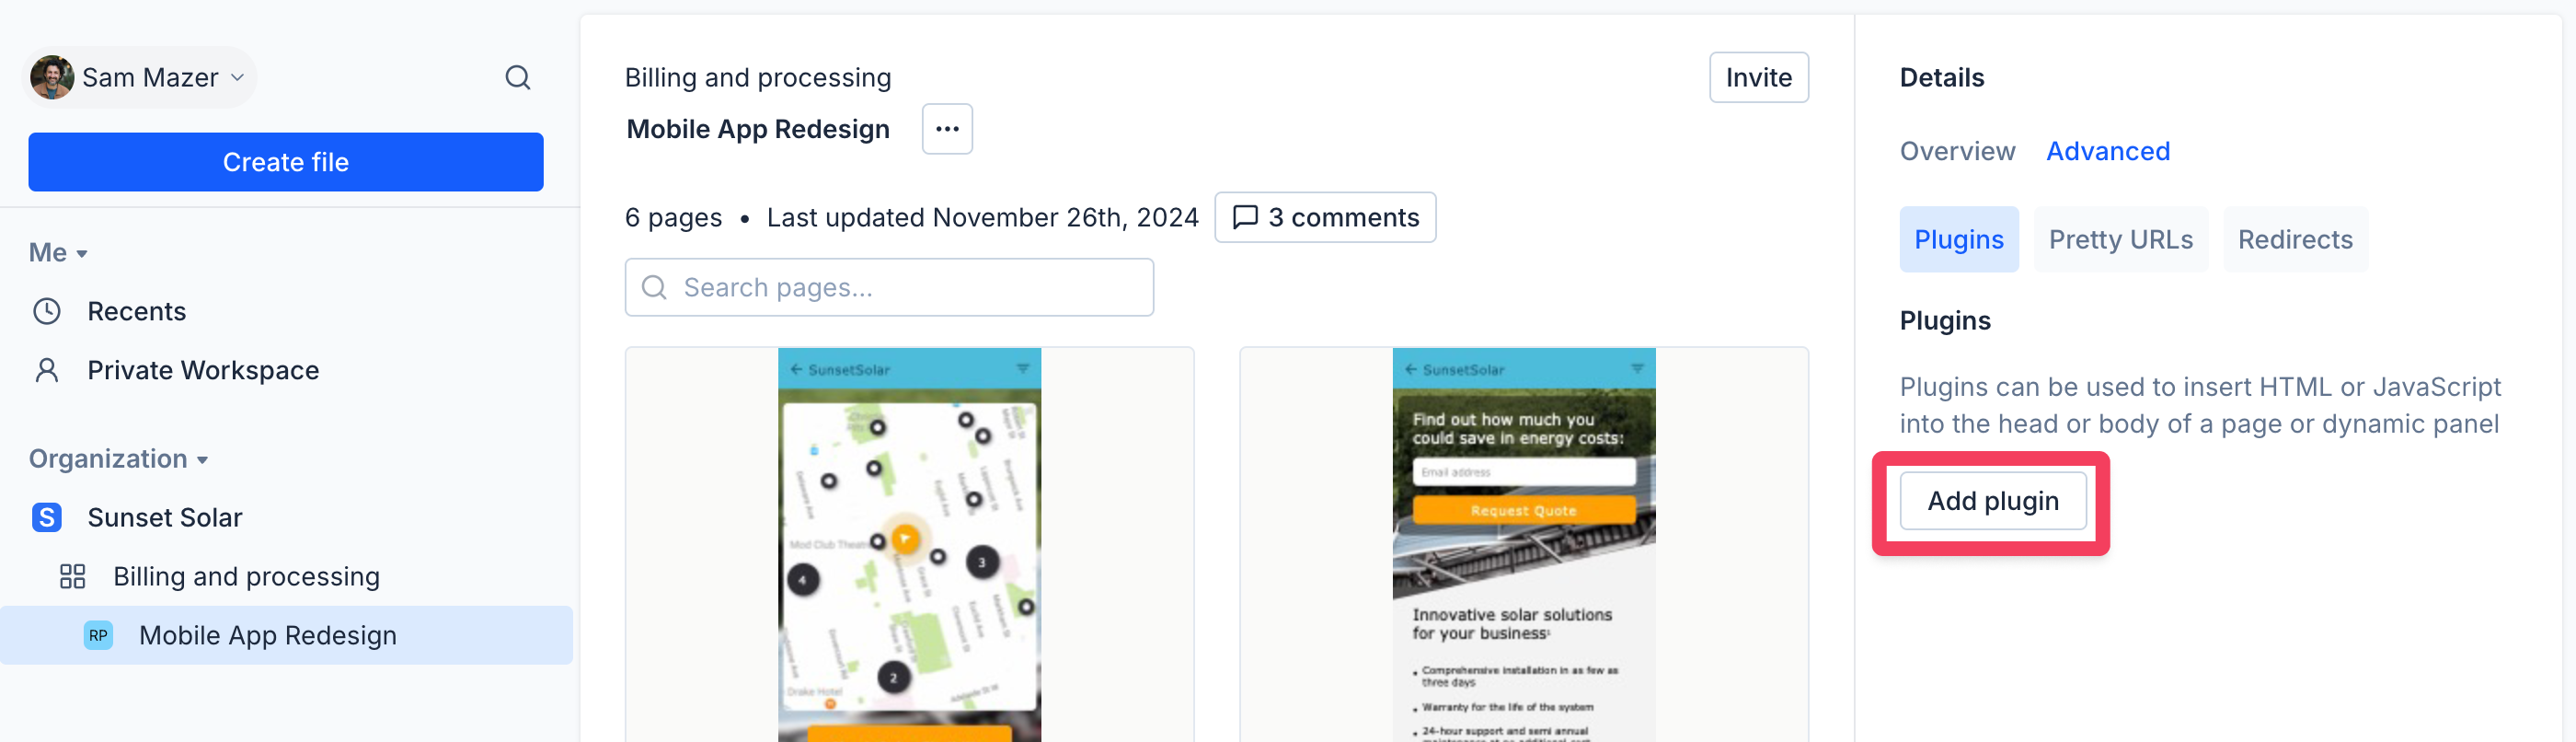
Click on your project's name to open its overview.
-
In the details pane on the right, go to Advanced → Plugins.
-
Click Add plugin.
-
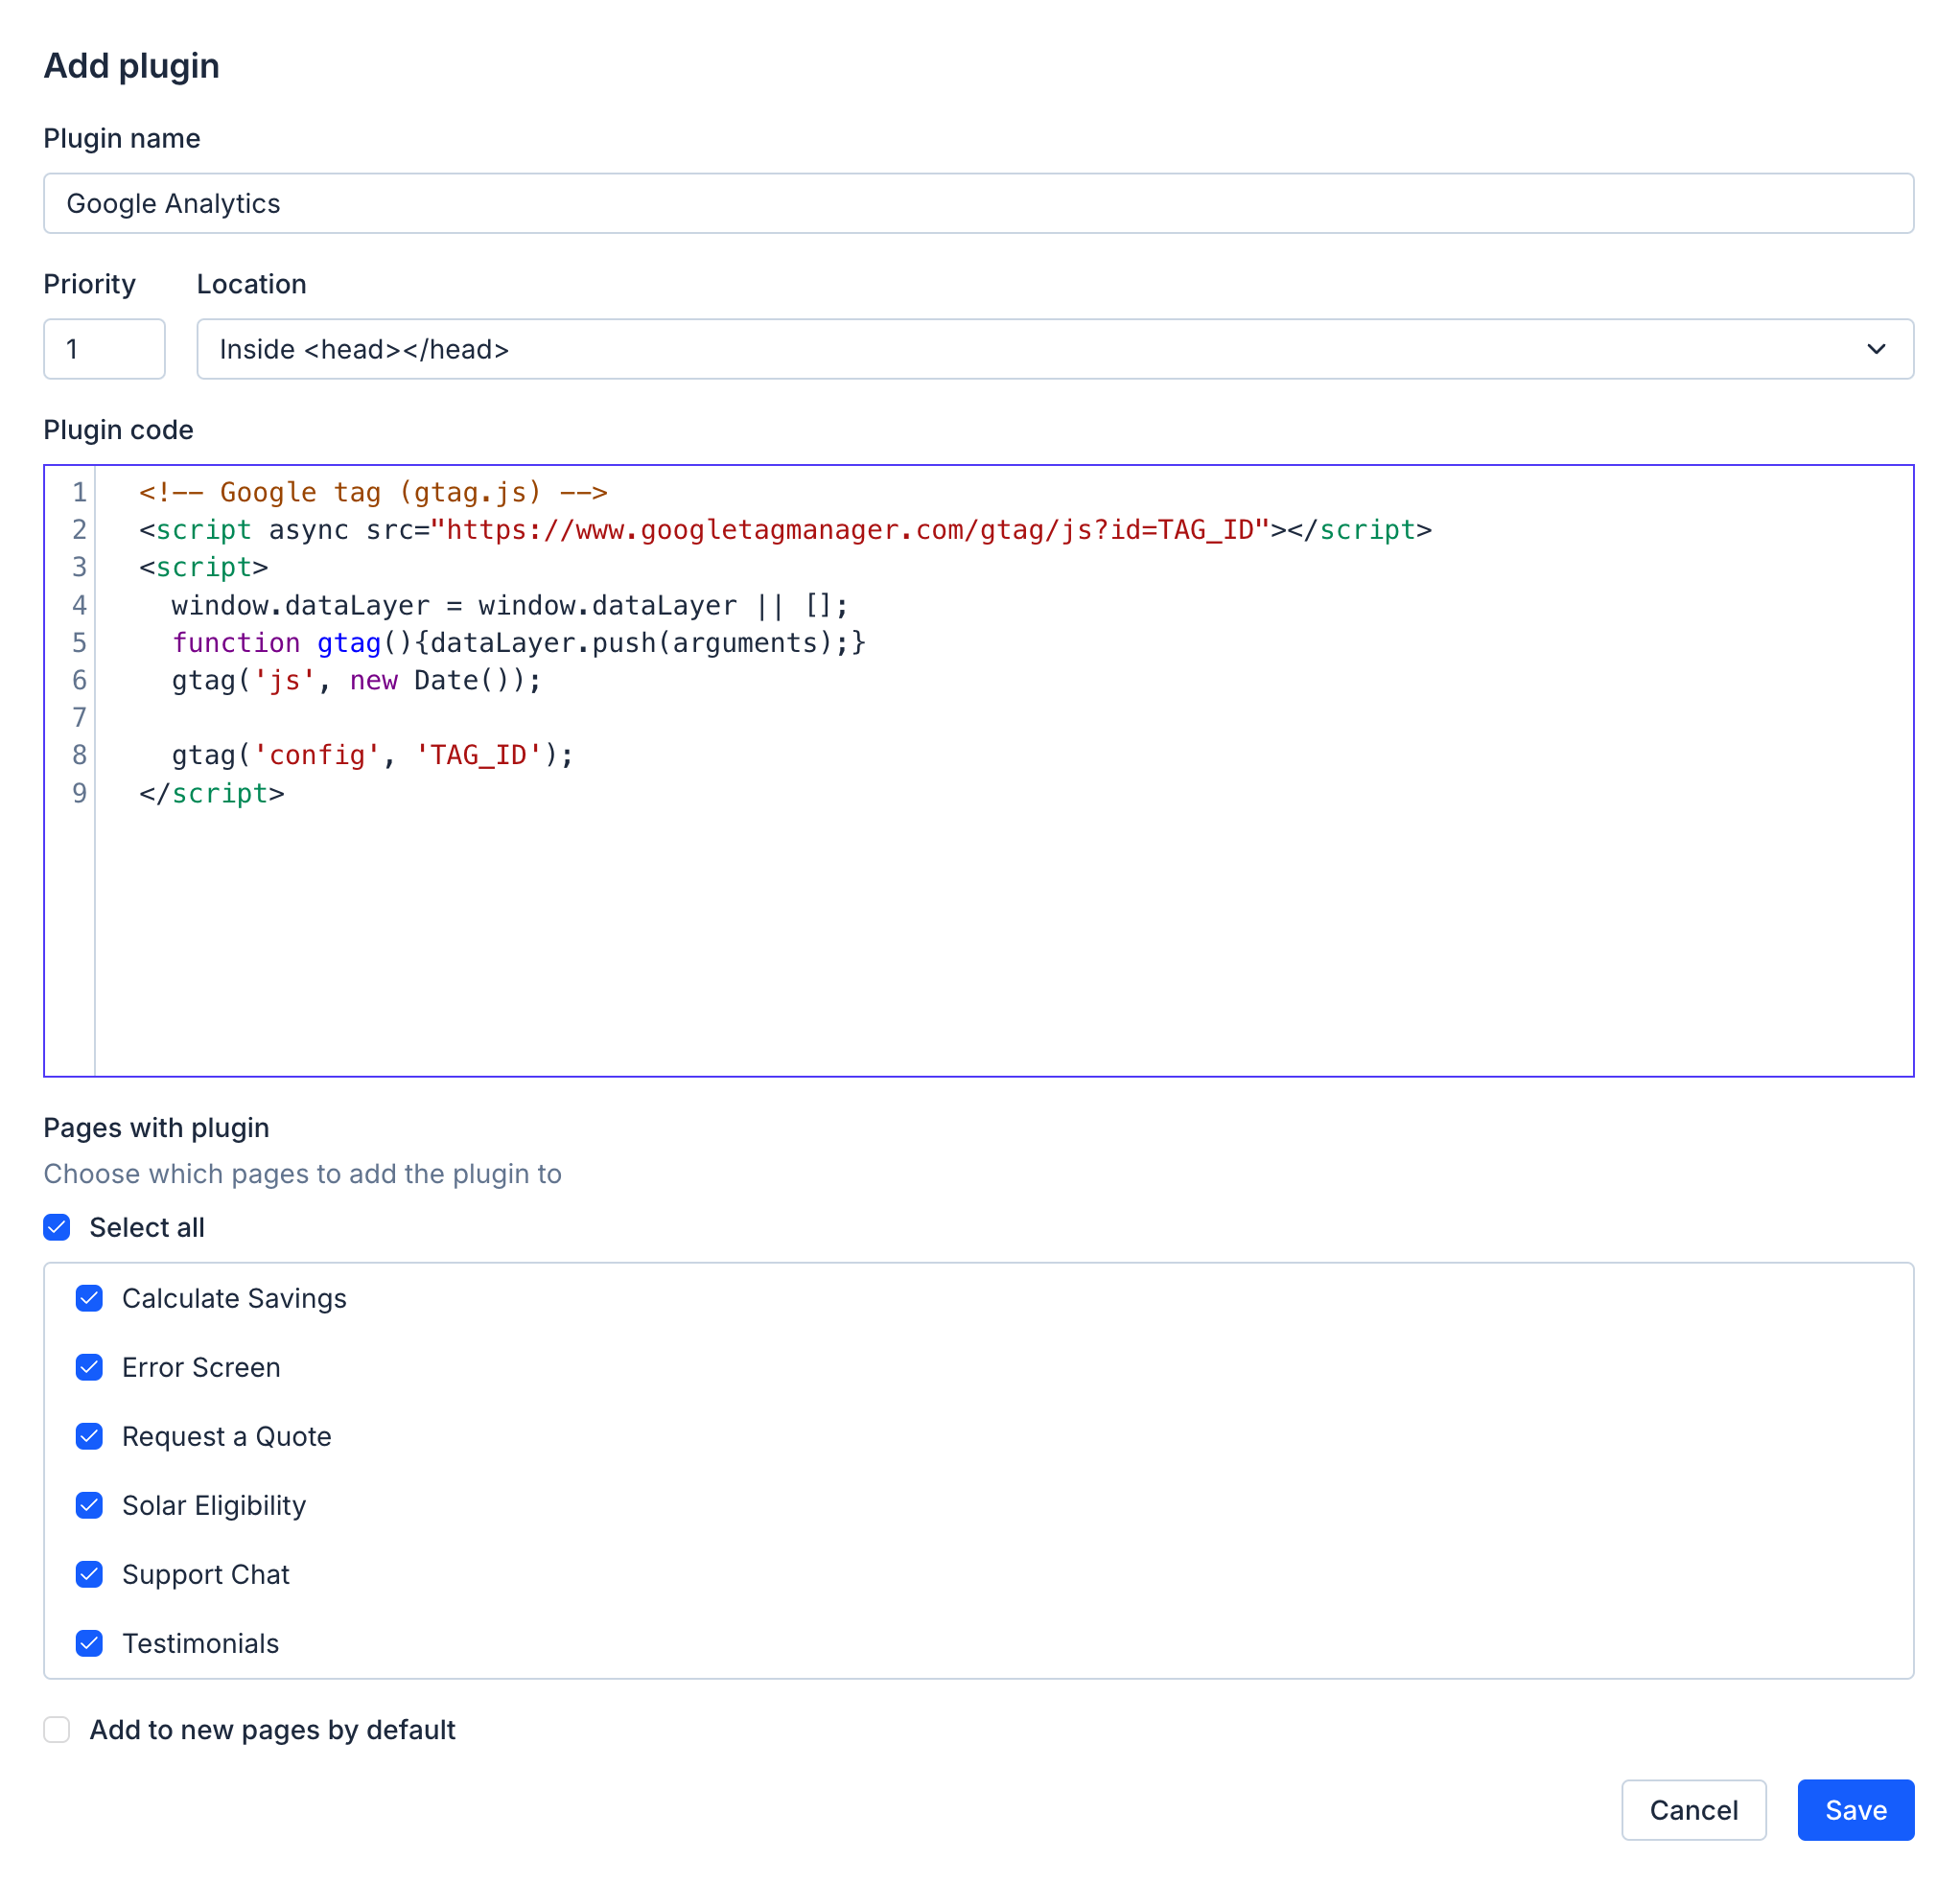
Give the plugin a name, a loading priority (if the project has multiple plugins), and choose where you would like to insert the plugin's code:
- inside the
<head>tag - at the end of the
<body>tag - inside a named dynamic panel you've created in the project's RP file.
- inside the
-
Enter your custom code into the text area.
 warning
Axure Cloud plugins are inserted into project pages as raw HTML. As such, you must wrap JavaScript code in
<script></script>and CSS code in<style></style>tags. -
Choose the pages you want to add the plugin to and click Save.
tipIf you would like the plugin to be added to all pages in the project, make sure to check Add to new pages by default before you save the plugin. This will automatically add the plugin to any additional pages you create in the project's RP file later.
Once you've saved the plugin, make sure to test it out in your project.
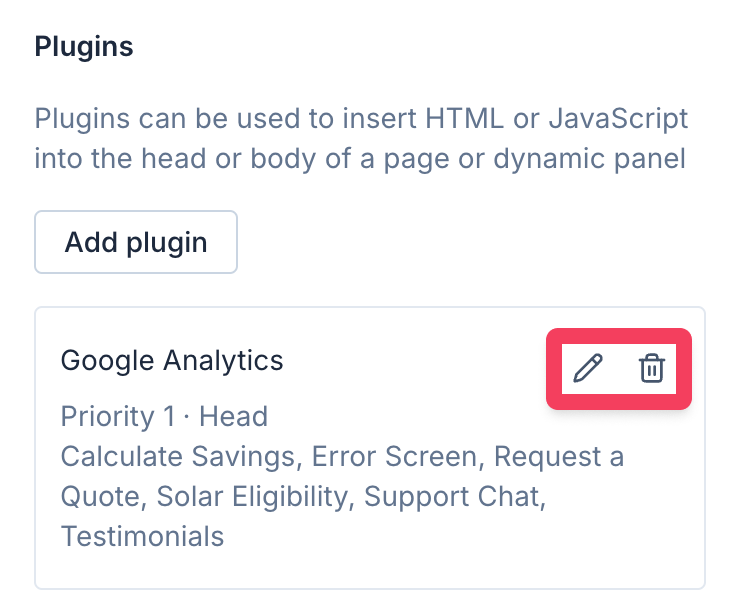
Editing plugins
To edit a plugin's name, location, loading priority, or code, click the Edit button ✏️ of the plugin.