Libraries
Libraries let you build reusable collections of whiteboard elements (shapes, groups, UI components, and more) that anyone in your organization can quickly insert into any whiteboard. Libraries live in Shared assets → Libraries and appear in quick insert (press / on a whiteboard) once published.
Creating a library
-
In the sidebar, go to Shared assets and open the Libraries workspace.
-
Click New and choose Whiteboard.
-
Add objects to the canvas. Each top-level object or group becomes a separate library element.
You can use Sections to organize elements within a library. Select a section and use Treat section as… in the style toolbar to choose how it behaves:
- Folder: organizes child elements in the Outline pane but is not itself a library element. Only the children appear in quick insert.
- Library element: the section itself becomes a library element and can be inserted as a whole.
Adding elements to a library
You can add objects to a library directly from any whiteboard, or by editing the library file itself.
From a whiteboard
-
On a whiteboard, select one or more objects (or a group).
-
Right-click the selection and choose Add to library.
-
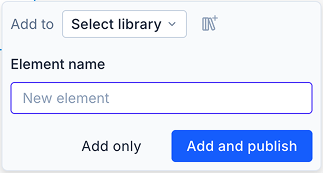
In the dialog that appears:
- Add to: Choose an existing library. If no libraries exist yet, select Create a new library to create one and use it as the target.
- Element name: Enter a name for this library element. When a single named object is selected, the name defaults to the object's name.
-
Choose how to save the element:
- Add only: Saves the element to the library without publishing. The element won't appear in quick insert until the library is published.
- Add and publish: Saves the element and publishes the library so the new element is immediately available in quick insert.
From a library whiteboard
Open the library whiteboard and add or arrange objects directly on the canvas. Every top-level object or group is treated as a distinct library element.
Publishing and unpublishing
A library must be published for its elements to appear in quick insert. After editing a published library, you must publish again for the changes to take effect.
You can publish or unpublish a library from three places:
- Banner in the library file: A banner at the top of the library shows the current publish state. Click Publish when there are unpublished changes, or use the banner to unpublish.
- File menu: Open the file dropdown and select Publish or Unpublish.
- Libraries table: In Shared assets → Libraries, the table shows the last published date. Use the Publish action for libraries with unpublished changes, or Unpublish to remove a library from quick insert.
Publishing requires edit permission on the library file and at least one element on the canvas. Unpublishing removes the library from quick insert but does not delete the file or its contents.
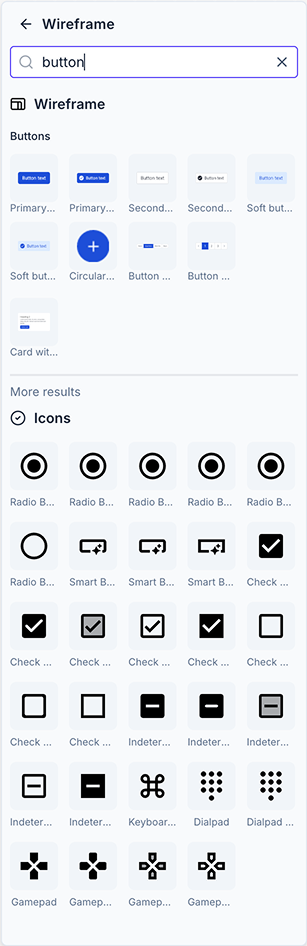
Using libraries in quick insert
-
Open a whiteboard and press / to open quick insert.
-
Browse published libraries or search by element name.
-
Select an element to insert it onto the canvas.
To create a new library or add elements from the canvas, go to Shared assets → Libraries, or right-click any object on the canvas and select Add to library.
Permissions
Users with edit permission on a library file can add elements, publish, and unpublish. Organization members can use published libraries via quick insert. Guests do not have access to Shared assets, including the Libraries workspace.