Shape widgets
The various boxes, buttons, and headings in the Common section of the Default widget library are all shape widgets, along with the placeholder, label, and paragraph. The icons available in the Icons widget library are shapes too, as are any widgets you draw with the pen tool.


Creating shapes
Drag from the libraries pane
Axure RP comes with a wide variety of ready-to-use shapes that you can access in the Libraries pane. To add one to your design, drag it from the pane and drop it onto the canvas.
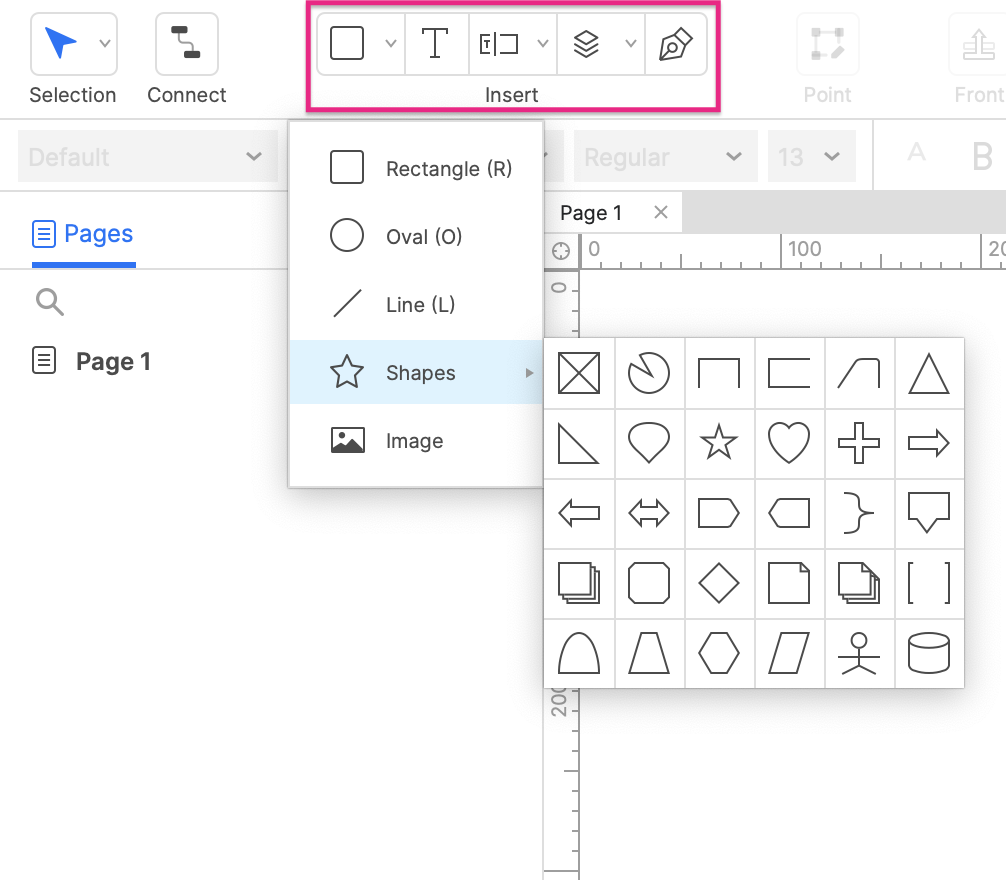
The insert menu
The Insert menu at the top-left of the interface contains a number of additional shapes you can add to your designs. Select a shape and click-and-drag on the canvas to draw it. You can constrain its dimensions by holding SHIFT as you drag.
The most commonly used shapes can also be drawn using the following single-key shortcuts:
- Rectangles
- Ovals
- Lines
- Text (paragraph widgets)
- Pen tool for freehand drawing
The pen tool
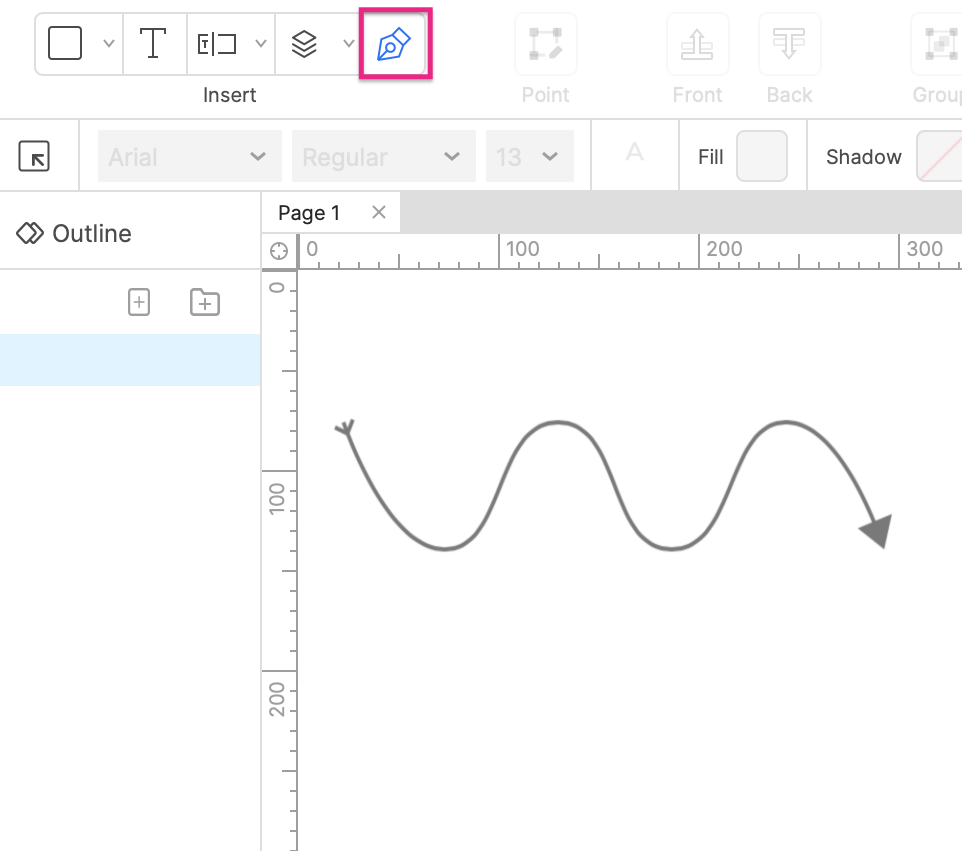
You can draw your own vector shapes using the pen tool, available in the Insert menu or by pressing P. The pen tool works similarly to its equivalent in other vector drawing applications:
- Click the canvas to add a new vector point
- Click-and-drag to add a curved point
- Hold SHIFT while dragging to auto align the curve handles to the X or Y axis
- Hold ALT while dragging to move the drag handles independently of one another
- Click the first point to close the path, or double-click the canvas to create an open path
Convert SVGs to shapes
You can edit SVG assets you've imported into Axure RP by right-clicking and selecting Transform image → Convert SVG to shapes. This will replace the SVG image with one or more shape widgets, which you can then edit just as you would any other shape widget.
Import from Figma
You can copy assets directly from Figma and paste them into Axure RP as shape widgets.
-
In Figma, select the elements you want to copy and go to Plugins → Axure → Copy Selection for RP. (Alternatively, you can copy all assets with the Copy All Frames for RP option.)
-
In Axure RP, use Edit → Paste or right-click the canvas to paste the Figma elements into the project.
Import from Sketch
You can copy assets directly from Sketch and paste them into Axure RP as shape widgets.
-
Download and install the Axure plugin for Sketch.
-
In Sketch, select the elements you want to copy and go to Plugins → Axure → Copy Selection for RP. (Alternatively, you can copy all assets with the Copy All Artboards for RP option.)
-
In Axure RP, use Edit → Paste or right-click the canvas to paste the Sketch elements into the project.
Import from Adobe XD
You can copy assets directly from Adobe XD and paste them into Axure RP as shape widgets.
-
Download and install the Axure plugin for Adobe XD.
-
In XD, select the elements you want to copy and go to Plugins → Axure → Copy Selection for RP. (Alternatively, you can copy all assets with the Copy All Artboards for RP option.)
-
In Axure RP, use Edit → Paste or right-click the canvas to paste the XD elements into the project.
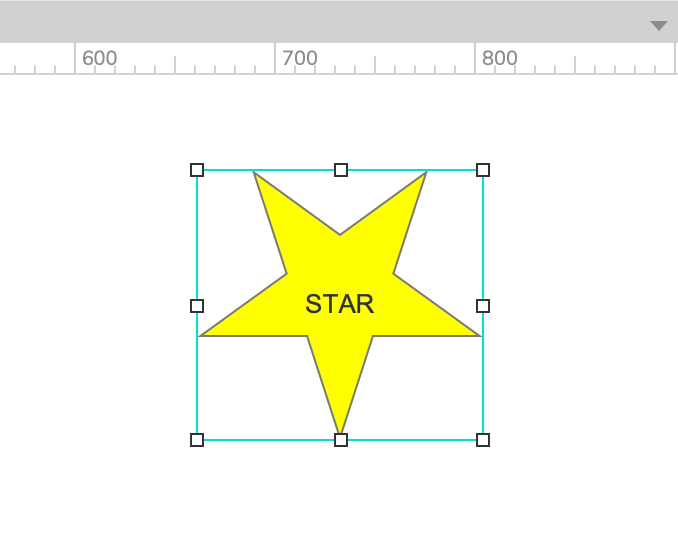
Adding and editing text
You can add text to a shape widget or edit its current text via any of the options below:
- Double-click the shape to enter text-editing mode
- Select the shape and press ENTER to enter text-editing mode
- Right-click the shape and select Edit Text in the context menu
- Select the shape and begin typing. (This option is only available if you have disabled the single-key shortcuts)
You can also automatically fill a shape widget with placeholder text by right-clicking it and selecting Fill with Lorem Ipsum.
Image fills
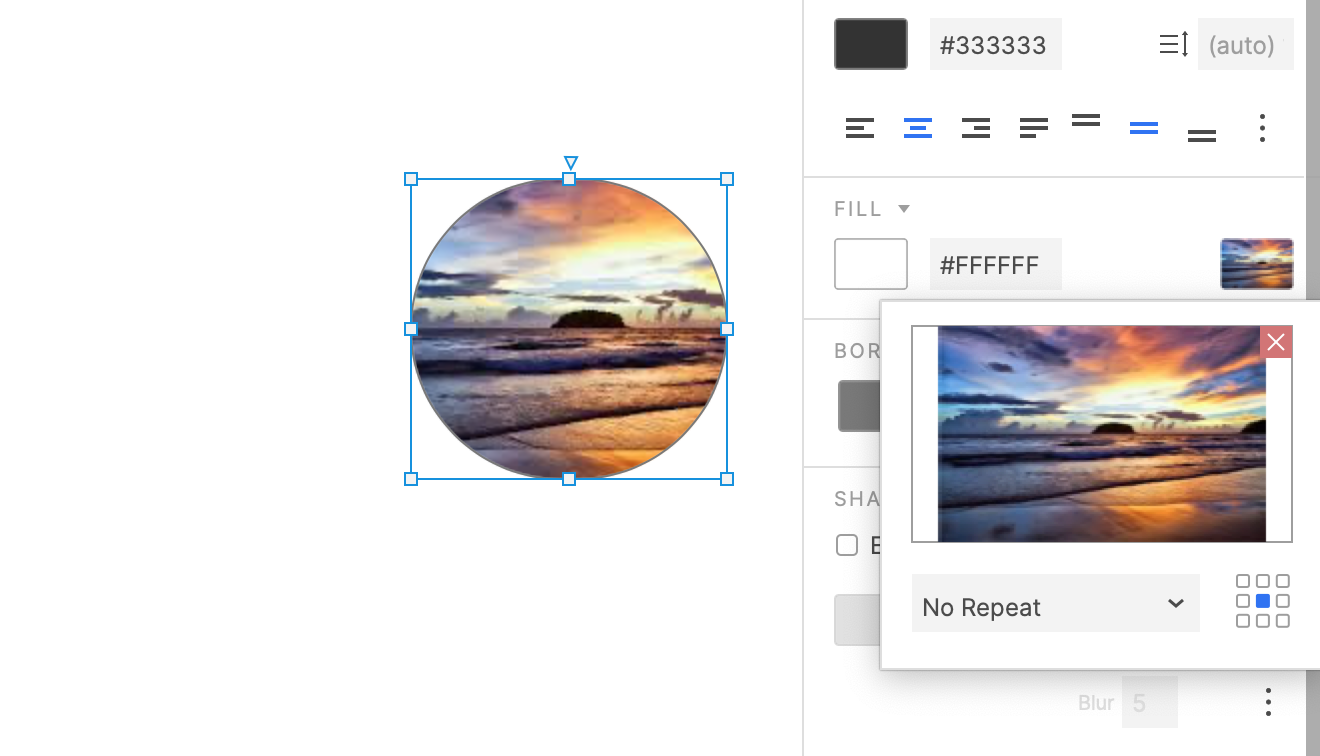
In addition to the other style options available in the Style pane, shape widgets can also be given background images. To give a shape a background image, select it and use the Image button under Fill in the Style pane.
Rotating shapes
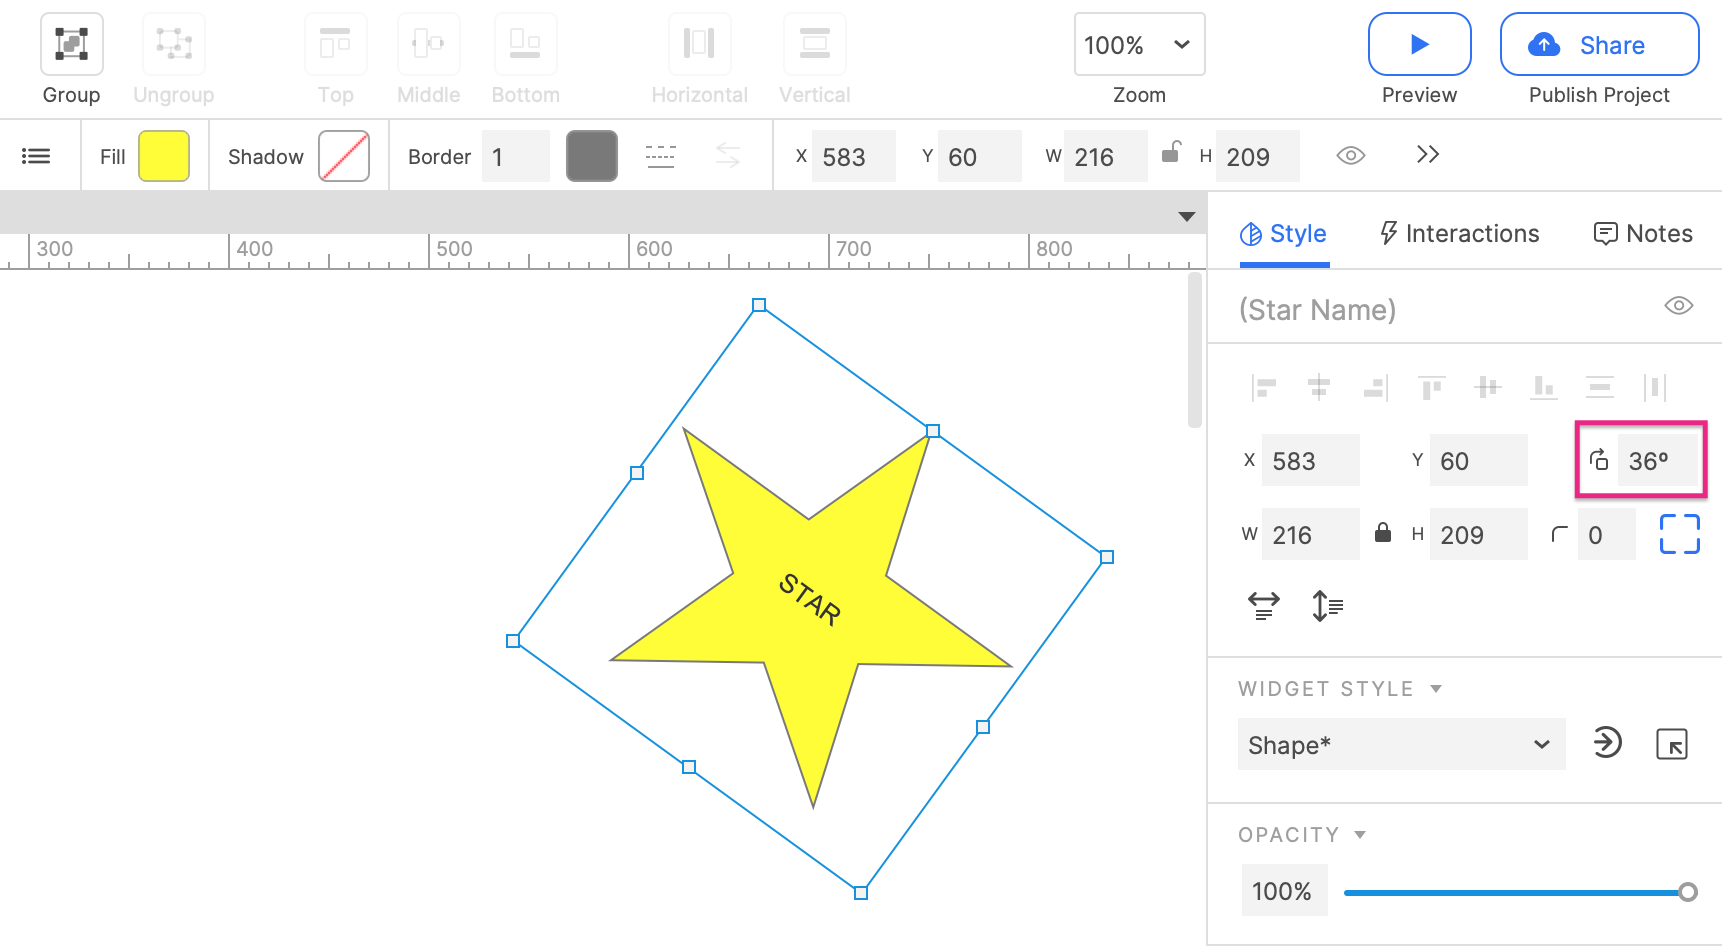
Use the Rotation field at the top of the Style pane to rotate selected shapes on the canvas. The field accepts positive and negative degree values with up to two decimal places. Positive values rotate shapes to the right, and negative values rotate shapes to the left.
Reset text rotation
After rotating a shape widget, you can set the rotation of the shape's text back to 0° by right-clicking it and selecting Transform Shape → Reset Text to 0°.
Editing shapes
Change shapes
To change a shape widget to a different shape, right-click and select Select shape in the context menu. This will bring up a list of Axure RP's preconfigured shapes that you can choose from.
You can change any shape widget in this fashion. Doing this instead of creating a new shape widget when you want to change shapes preserves all of the widget's notes and interactions.
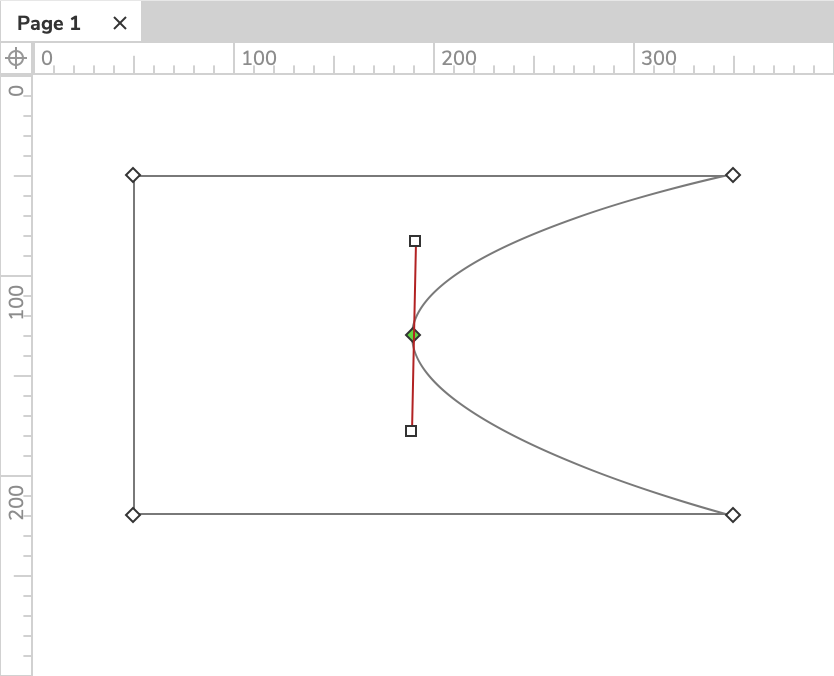
Edit vector points
After you've created a shape, you can tweak it further by editing its vector points. To get started, select the widget and double-click its border or right-click and select Edit points in the context menu.
Drag a vector point to move it. To add a new point, click a blank spot on the border. To delete a point, select it and press DELETE or right-click and select Delete in the context menu.
To toggle a point between curved and sharp, double-click it or right-click and select Curve or Sharpen in the context menu. You can also curve or sharpen all points at once by right-clicking the widget and selecting either option under Transform shape.
Shape transformations
You can apply a number of transformations to one or more selected shape widgets. Right-click your selection and go to Transform shape to access these options.
Flip horizontal/vertical: Flips the shape across the the y-axis (horizontally) or the x-axis (vertically)
Unite: Unites multiple shapes into a single path

Subtract: Subtracts one or more shapes from another. The front shapes will be subtracted from the backmost shape, based on their z-index (stack order) as indicated in the Outline pane

Intersect: Preserves only the intersecting portions of two or more shapes

Exclude: Joins two or more shapes together, excluding any overlapping segments. The overlapping area is eliminated, and the remaining sections of each shape are preserved in one shape that could potentially have multiple paths

Combine: Combines two or more shapes into a single shape and preserves each original path (as opposed to Unite)
Break apart: Breaks previously combined shapes into separate shapes
Curve/sharpen all points: Curves or sharpens all vector points in the selected shape(s)
Convert to image
If you want to swap out a placeholder or other shape for a real image, you can convert your shape widget to an image widget while preserving all its notes and interactions. Just right-click the shape widget and select Convert to Image in the context menu.
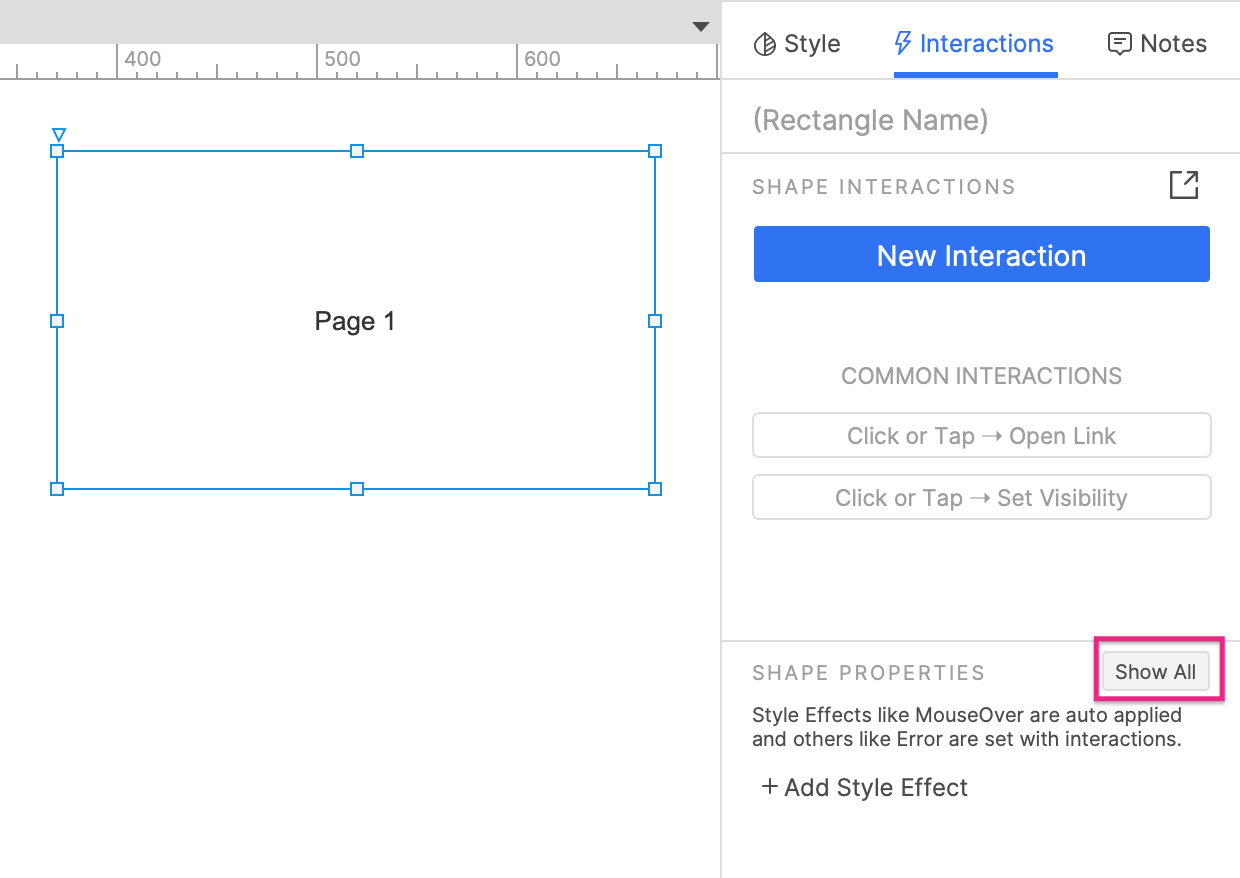
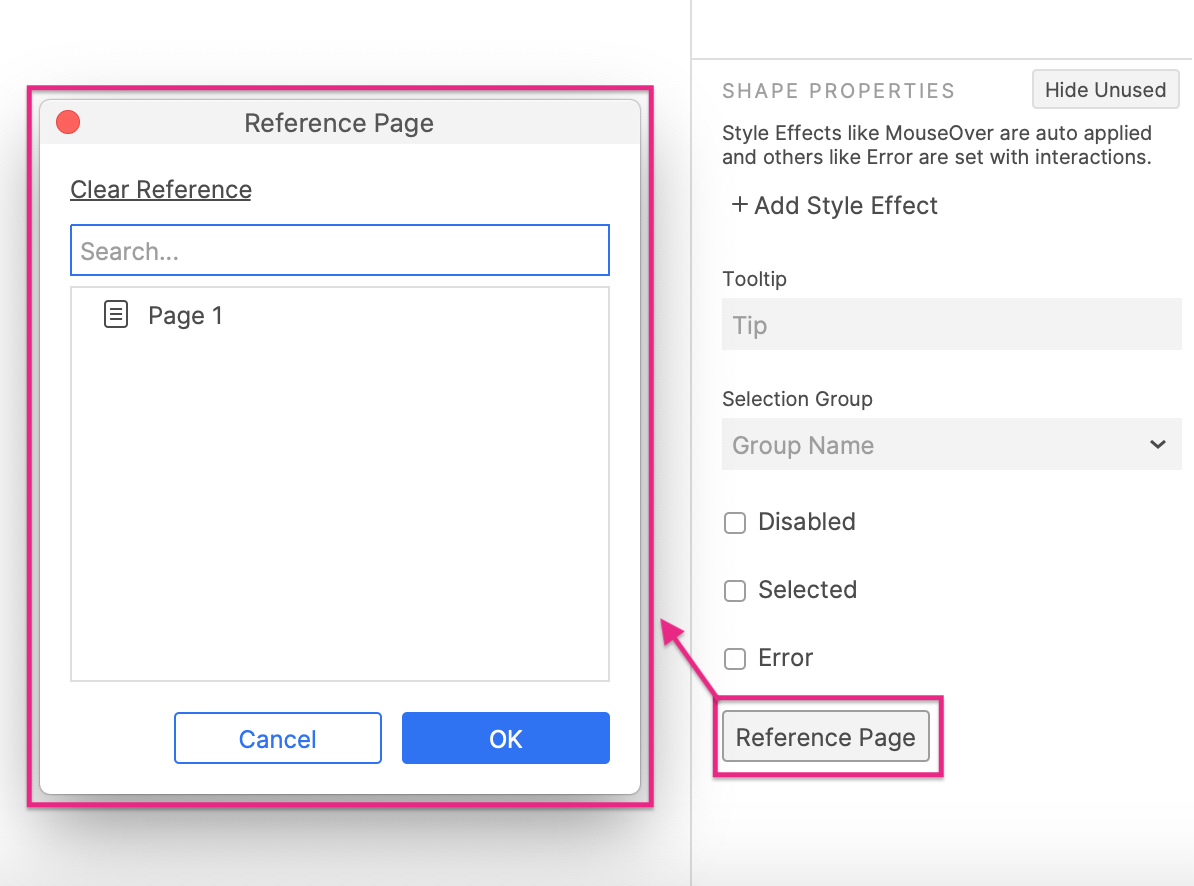
Reference pages
Assigning a reference page to a shape does three things:
- The text on the shape is set to the name of the page.
- The shape’s text is automatically updated if the page is renamed.
- Clicking the shape in the web browser opens the page.
To assign a reference page to a shape widget, click Show All in the Shape Properties section of the Interaction pane, and then click Reference Page.
Selection groups
You can create a relationship between a group of shape, line, image, and/or dynamic panel widgets in which only one widget at a time can be set to its selected state with the Set Selected/Checked action. (This is similar to the relationship between radio buttons in a radio group.)
To learn more, check out the Selection Groups article.