Marking repeater rows
In this tutorial, you'll learn how to mark rows, both visually and programmatically, to be worked with later.
1. Widget setup
-
Open a new RP file and open Page 1 on the canvas.
-
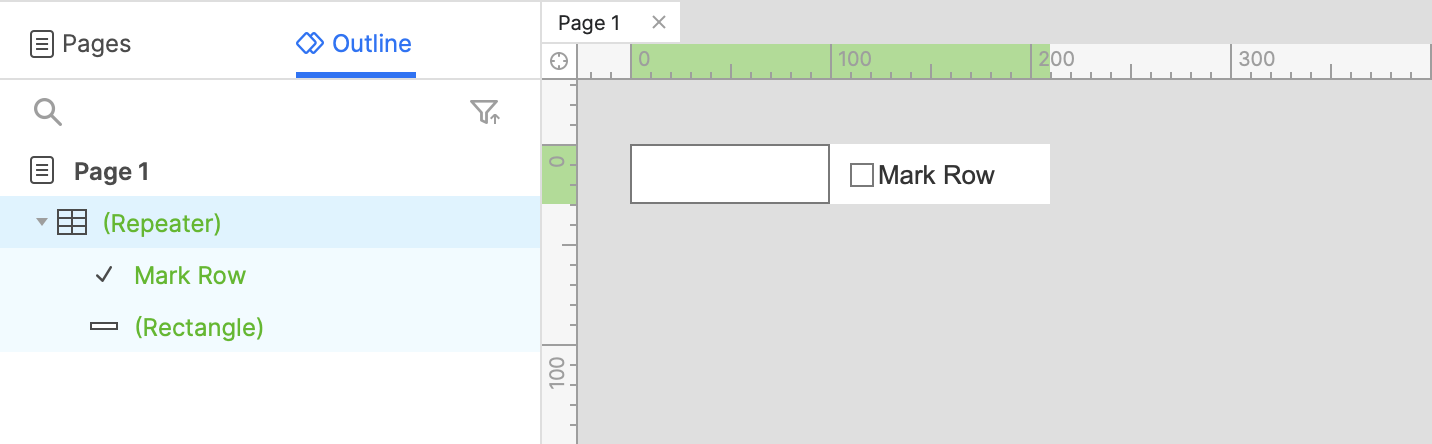
Drag a rectangle widget onto the canvas, right-click it, and select Create repeater from the context menu.
-
Edit the Column1 cells to be numbered from 1-3.
-
Drag a checkbox widget onto the canvas and place it to the right of the rectangle.
-
Set the checkbox label's text to
Mark Row.
2. Mark the row when the checkbox is checked
-
Select the checkbox widget and click New interaction in the Interactions pane.
-
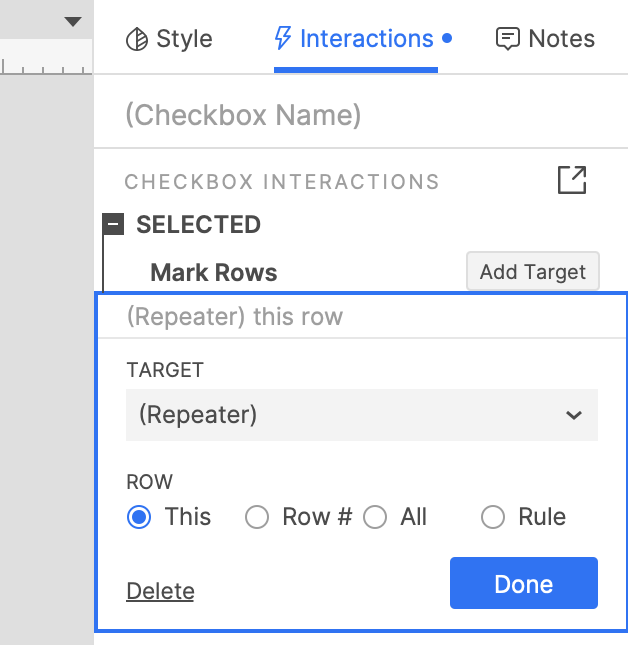
Select the Selected event in the list that appears, and then select the Mark rows action.
-
Select the repeater widget in the Target dropdown.
-
Leave the This radio button selected and click OK to save the action.
3. Unmark the row when the checkbox is unchecked
-
With the checkbox widget still selected, click New interaction in the Interactions pane again.
-
Select the Unselected event in the list that appears, and then select the Unmark rows action.
-
Select the repeater widget in the Target dropdown.
-
Leave the This radio button selected and click OK to save the action.
-
Click Close at the top-right of the canvas or press ESC to close the repeater's item.

4. Delete all marked rows with a button click
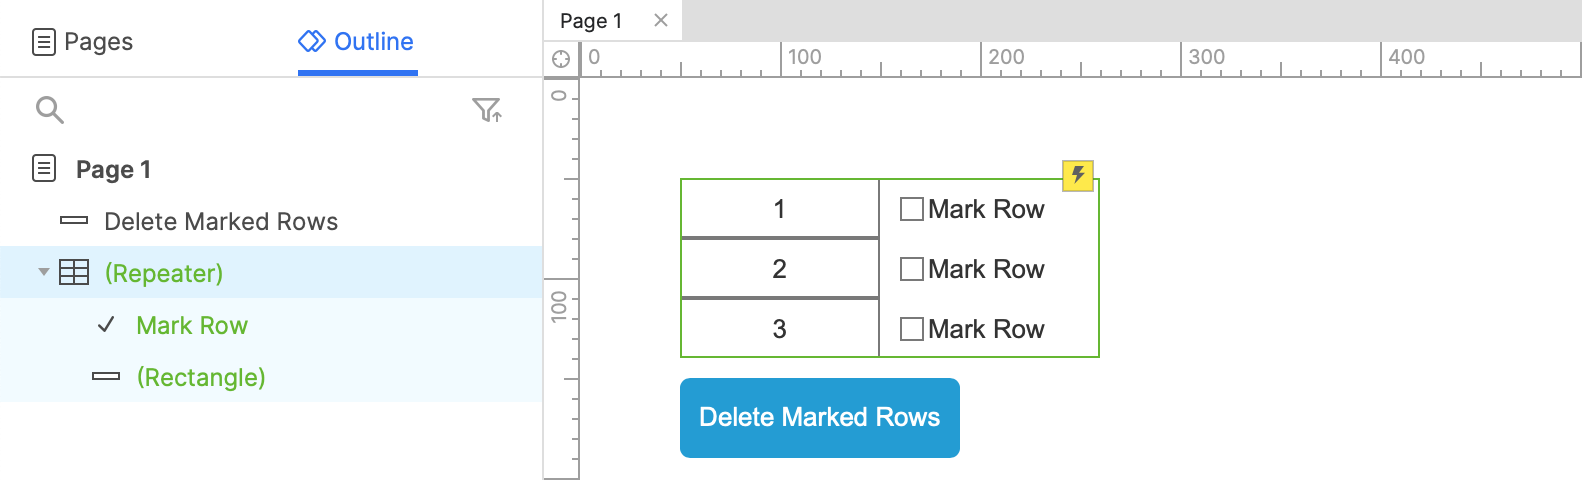
- Drag a button widget onto the canvas and set its text to
Delete Marked Rows.
-
With the button selected, click New interaction in the Interactions pane.
-
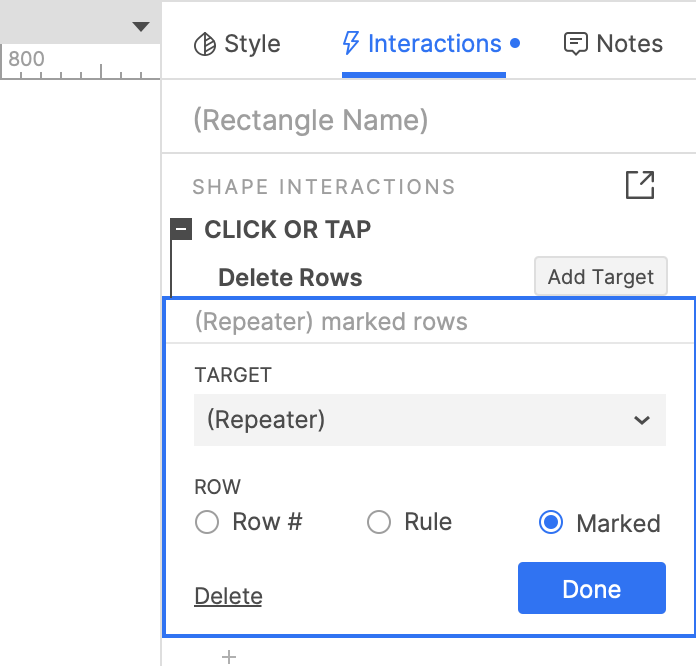
Select the Click or tap event in the list that appears, and then select the Delete rows action.
-
Select the repeater widget in the Target dropdown.
-
Select the Marked radio button and click OK to save the action.
5. Preview
-
Preview the page and check the boxes for a few of the repeater rows.
-
Click the "Delete marked rows" button to delete the checked rows.