Managing and viewing team project history
Every time items are checked in or changes are sent to the team directory, a "revision" is created — a saved version of the entire team project at that moment. You can browse and explore these revisions on the team project's Overview page on Axure Cloud.
You must have a license for Axure RP Team or Enterprise edition to work with team projects.
Viewing a project's history
There are two paths you can take to view a team project's history:
From Axure RP
In Axure RP, go to Team → Browse team project history. This will open the team project's Overview page on app.axure.cloud in your web browser with the History listed in the right pane.
From Axure Cloud
-
Sign in to app.axure.cloud in your web browser or sign in to the Axure Cloud desktop app.
-
Select the workspace the team project is located in and then click on the project's name.
-
This will open the project's Overview page with the History listed in the right pane.
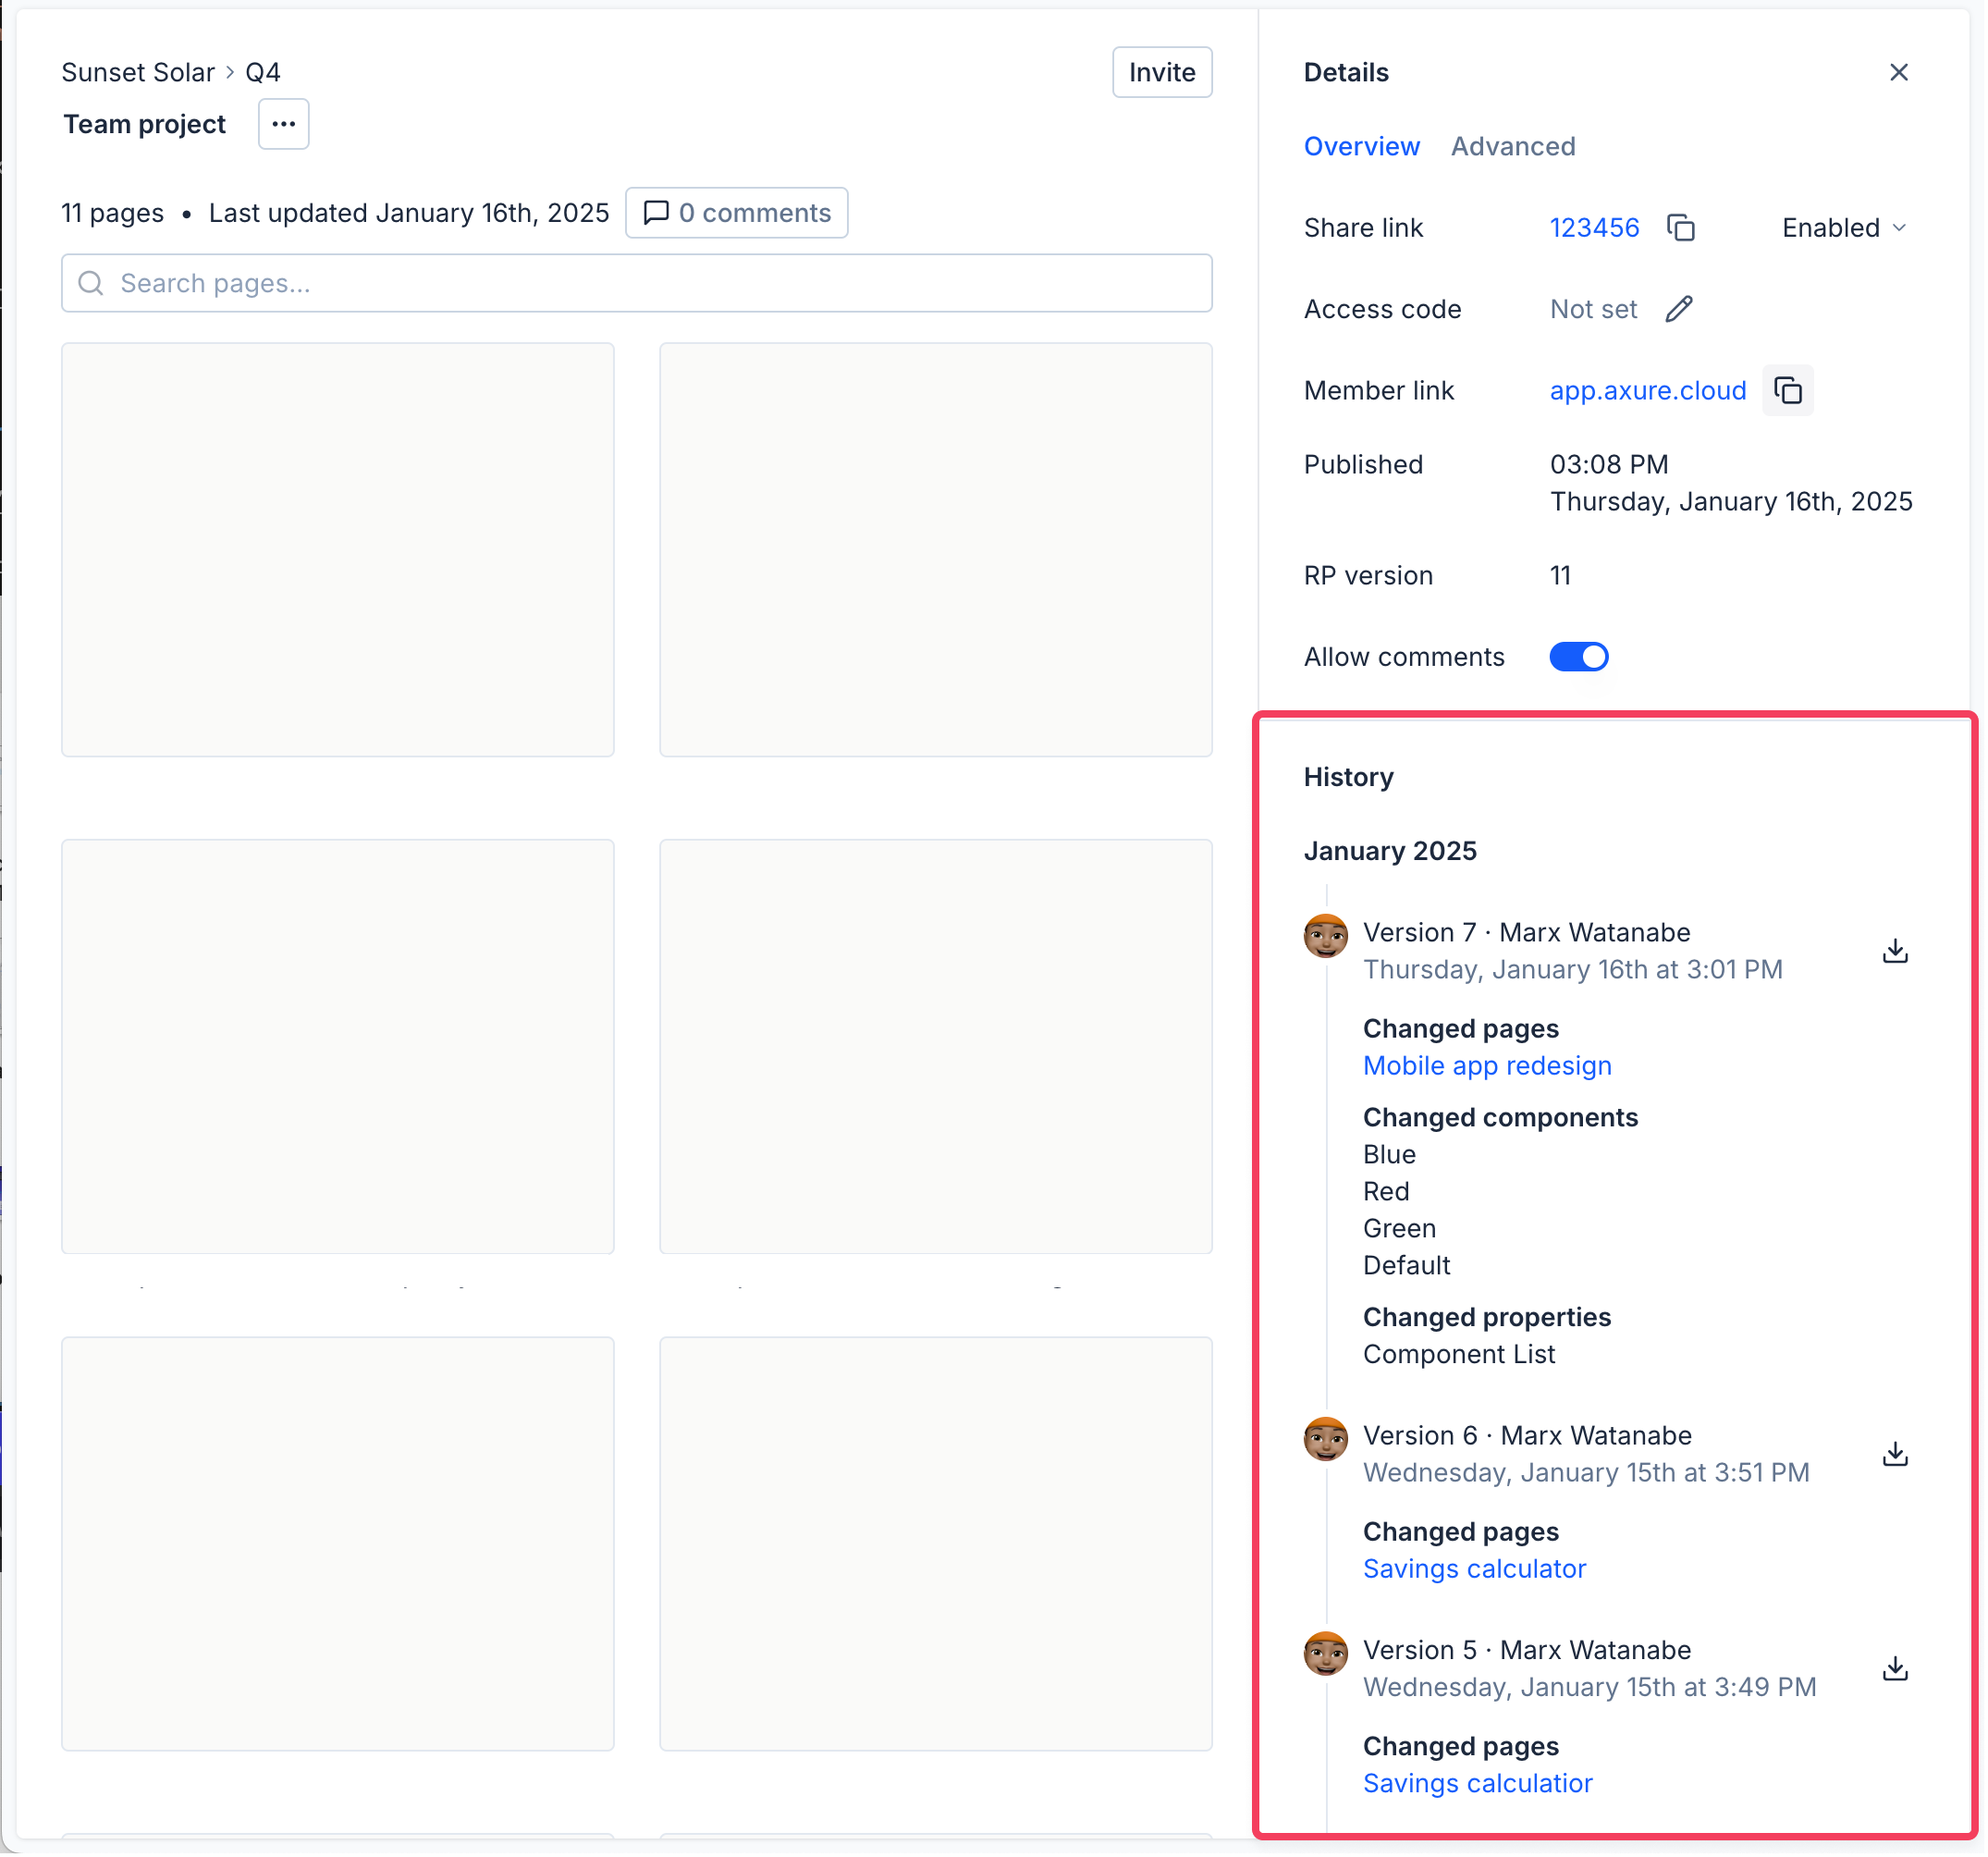
Revisions
Team project revisions are organized into a feed with the following information about each revision:
-
The Revision's number
-
The email address of the User who checked in/sent the changes that created the revision
-
The revision's Check in notes, which list the assets that were changed along with any additional notes entered by the user who made the changes
-
The Date of the revision
Downloading past revisions
Click the download button to the right of a revision to download a standalone .rp file that contains a version of the team project as it was at the time the revision was created.
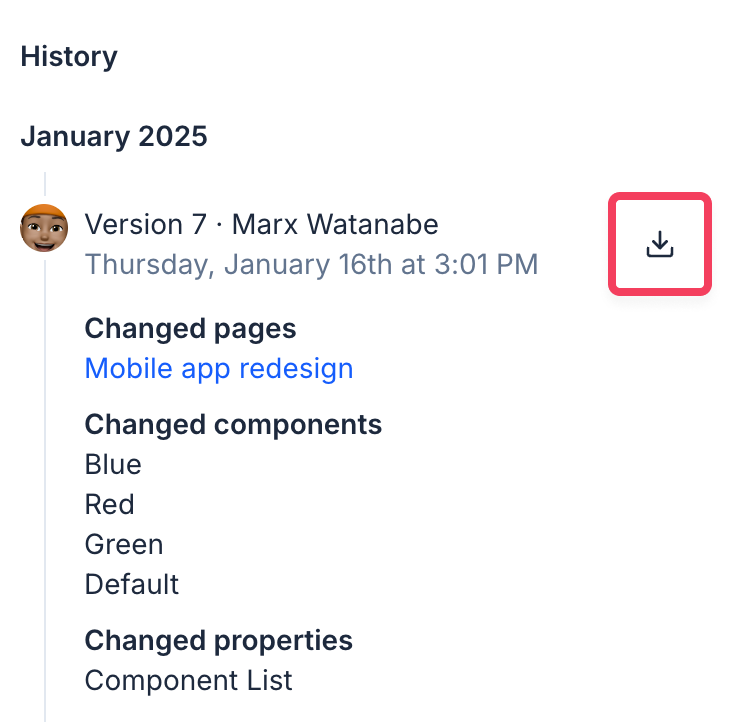
You can publish revision files to Axure Cloud to maintain a live version history of the team project that you can preview in your web browser, or you can use them to roll the team directory back to a past state.
You can only download past revisions for team projects; this feature isn’t available for standard .rp projects.
Rolling back to an older revision
-
Download the desired revision via the steps above.
-
Open your local copy of the team project in Axure RP.
-
Go to File → Import from RP file and select the revision's
.rpfile. -
Follow the steps in the import wizard to import the assets you want to roll back.
You will need to check out the assets before you can roll them back, so make sure they're checked in before you begin this step.
- After importing the desired assets from the revision file, check in your changes to the team directory via Team → Check in everything. Your collaborators will see the rolled back assets the next time they get changes from the team directory.